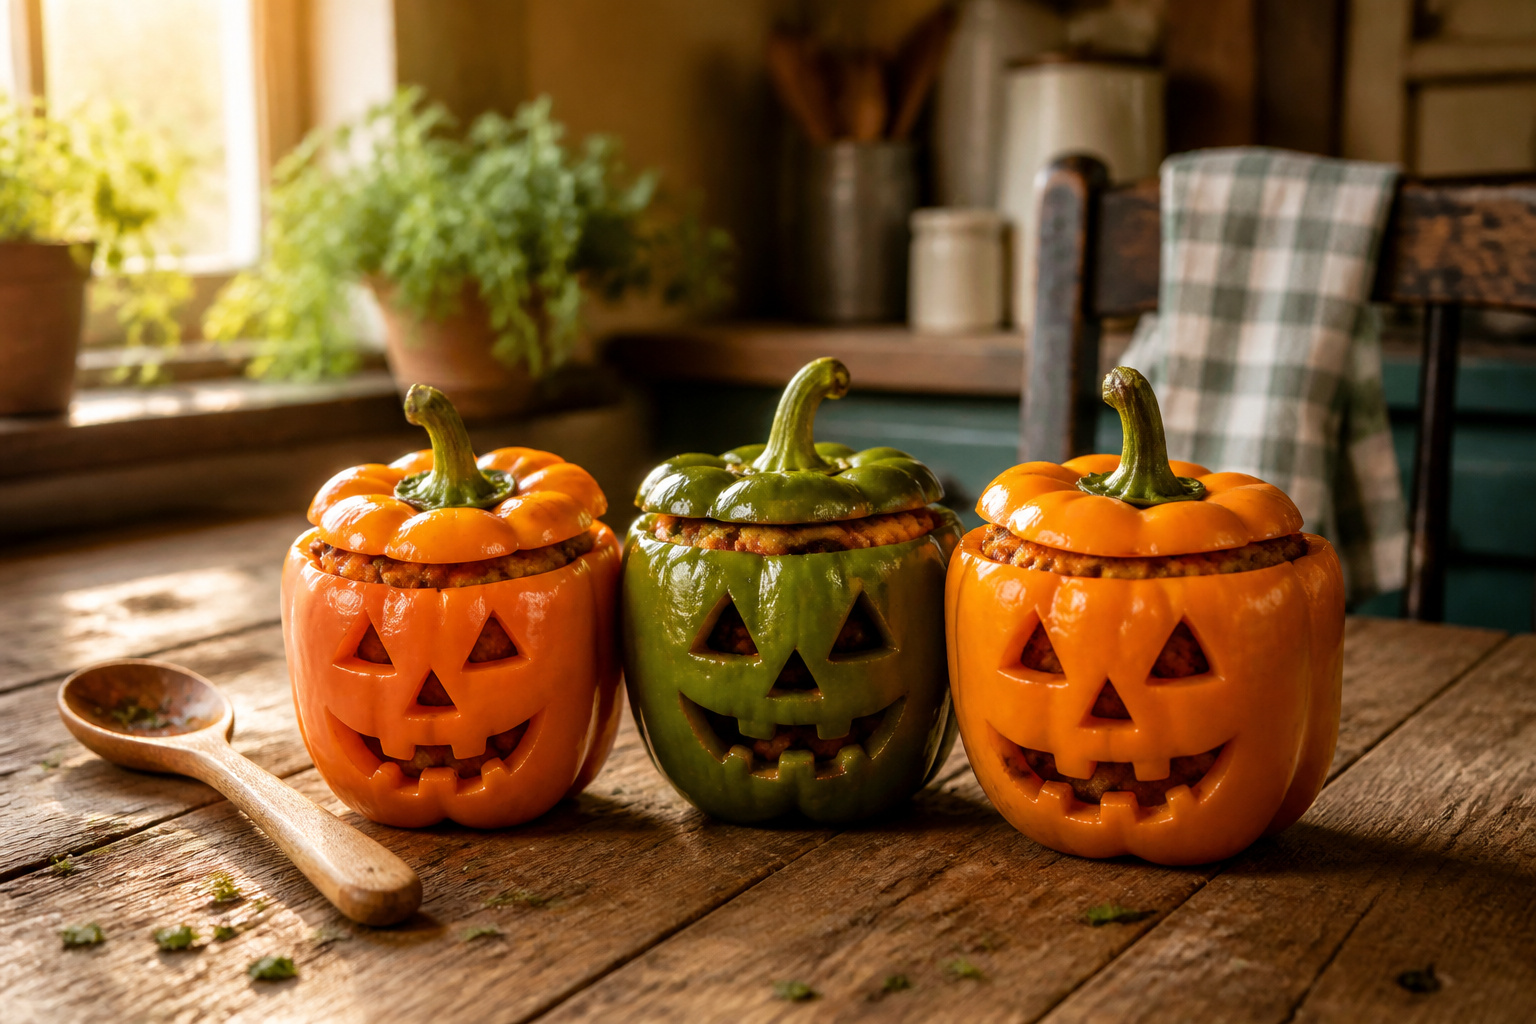
Jack o lantern peppers are bell peppers carved with faces, stuffed, and baked until the walls soften and the filling sets. Sequence matters: carve them raw, because a paring knife slips once heat touches the walls.
Draw the face first with edible ink, then cut small triangles for eyes and a jagged mouth so the jack-o’-lantern reads from across the table.
1. Carve the Peppers First
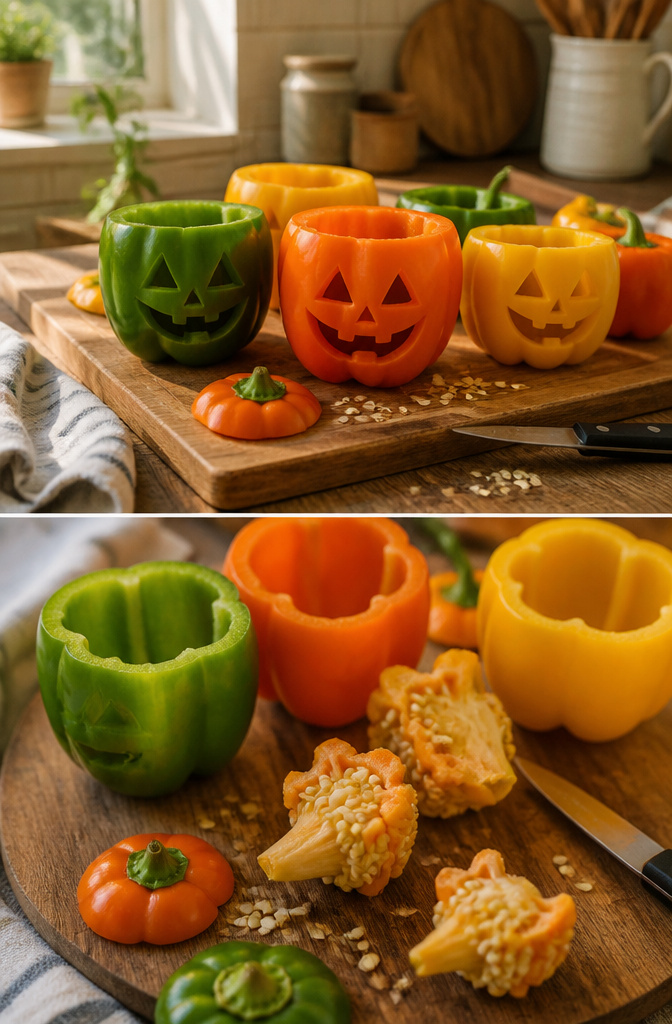
Carve the peppers before they go anywhere near heat, or you will be trying to cut faces into soft walls. Raw bell peppers hold their shape; once they soften, a paring knife slips and the features collapse.
Start by slicing the tops off and setting them aside. Reach inside with a spoon and scrape out every seed and rib; any bits left behind will taste bitter after baking.
Now the shell is clean, use your sharpest paring knife to cut the face. Small triangles for eyes and nose, a jagged line for the mouth: these shapes are forgiving and read instantly as jack-o’-lantern from across the table.
A pen with edible ink lets you draw first and carve on the outside of the line, which beats freehanding unless you have a very steady hand.
The carved-out pieces get discarded, or chopped and held back for the filling if you want to waste nothing.
This is the moment for faces. Filling comes after, and baking last.
2. Cook the Filling
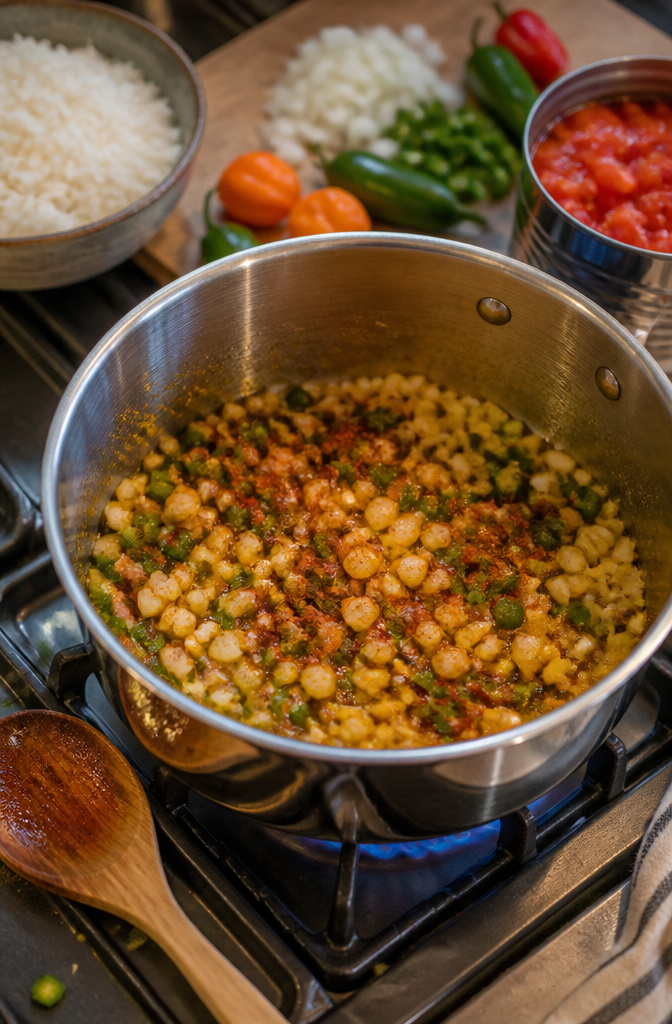
Heat a tablespoon of oil in a large saucepan over medium heat and add half a cup of chopped onion with a diced jalapeño. Stir until the onion turns translucent, about five minutes.
If you are using ground turkey, beef, or chicken, add it now and cook until it is no longer pink, breaking it up as it browns.
For a vegetarian version, swap in one fifteen-ounce can of rinsed black beans and cook just until everything is fragrant.
Season with two teaspoons of chili powder and half a teaspoon of cumin, or use a tablespoon of taco seasoning or Italian seasoning if that is what you have.
Add one can of diced tomatoes, half a cup of corn, and about two-thirds of a cup of salsa or canned tomato sauce.
Let it simmer for a few minutes, then fold in one and a half cups of cooked rice. If the mixture looks dry, splash in a little broth so the filling stays moist inside the pepper while it bakes.
Stir in half the cheese if you want it melted throughout, or save it all for the top.
3. Stuff and Pack
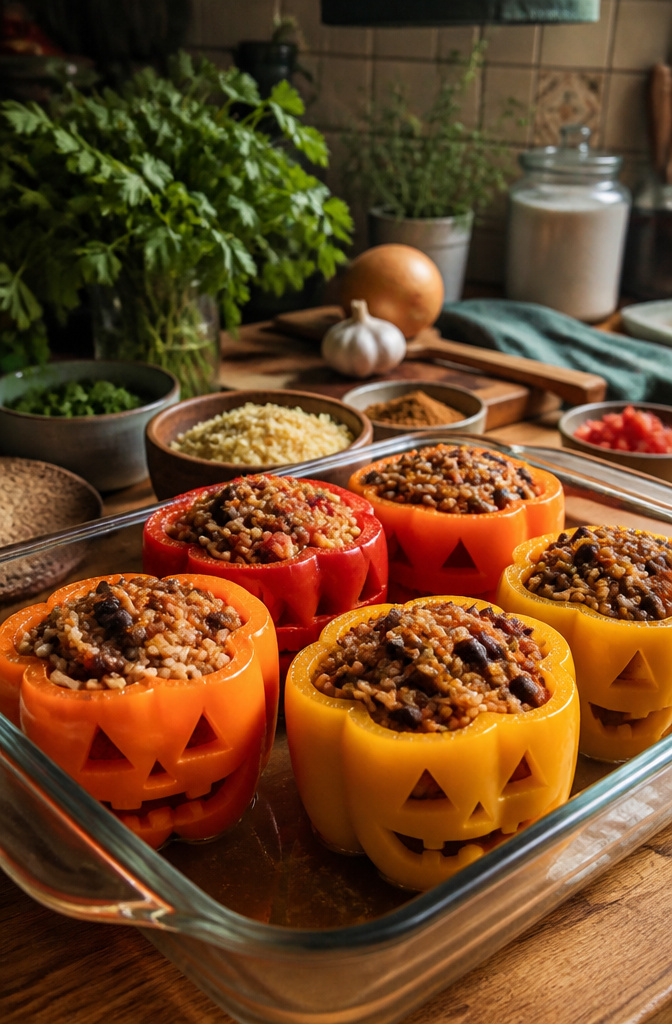
Use a spoon to pack the filling into each carved pepper, pressing gently so it reaches every corner and the mixture sits level with the top edge.
The pepper walls are thin once the windows are cut, so underfilling lets the sides slump in the oven.
If your recipe includes a topping, add it after the pepper is full. One approach is Panko breadcrumbs with grated Parmesan on top.
Others skip crumbs entirely and let the filling itself brown. Either way, keep the topping light; a heavy layer can slide off the curved shoulders.
Set the filled peppers upright in a baking dish with about half an inch of water covering the bottom. The water steams the pepper from the outside while the filling bakes inside, keeping the walls from going leathery.
If you carved lids earlier, set them back on now. They will not seal airtight, which is fine; you want some steam to escape so the filling does not turn soupy.
4. Bake Covered at 350°F
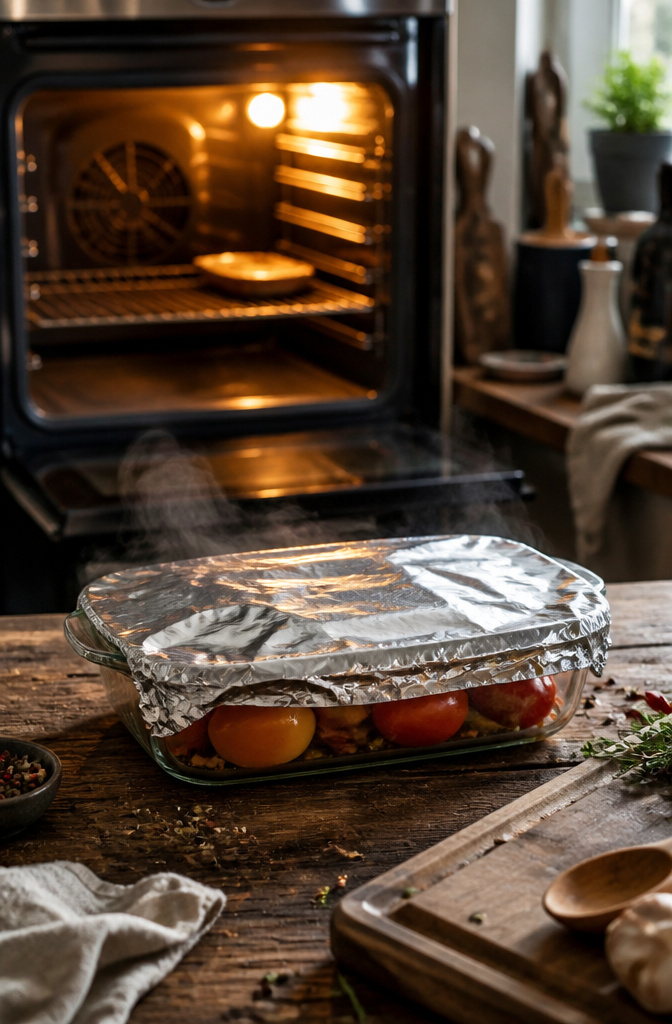
Arrange the stuffed peppers upright in a baking dish, packed snugly enough that they do not tip over. Cover the dish tightly with foil.
This traps steam and keeps the filling from drying out before the peppers soften.
Bake covered at 350°F. Cook times vary widely, from about 15 minutes up to 65 minutes depending on whose recipe you follow.
Most do not adjust the time for different fillings, so a rice-heavy pepper and a meat-heavy one may sit in the same oven for the same stretch even though one is denser.
Start checking at the shorter end and pull the dish when a knife slides easily into the pepper wall.
The foil comes off after that initial covered bake if you want the top to set or brown, usually another 10 minutes uncovered.
5. Serve With or Without Tops
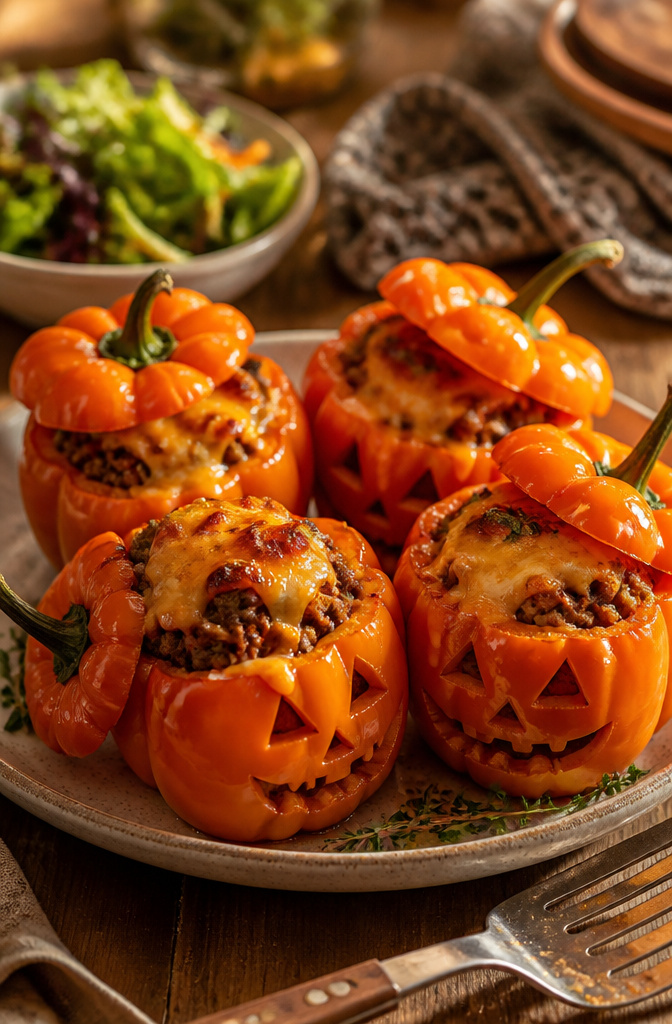
Once the peppers come out of the oven, you have a choice. Set the reserved tops back on for the full jack-o’-lantern effect at the table, or leave them off so the filling shows through the carved face.
The tops will have softened some during baking, so they seat loosely rather than sealing tight. Either way works; the off option is better if you want people to see what they’re getting before they cut in.
Move the peppers to plates with a spatula. They hold four to six servings depending on how many you started with and whether you’re adding sides.
The filling is dense enough to stand alone, though a simple salad or vegetable on the side rounds it out without competing for attention.
Serve hot, within a few minutes of coming out of the oven, while the cheese is still melted and the peppers have some structure left.
Filling Options Compared
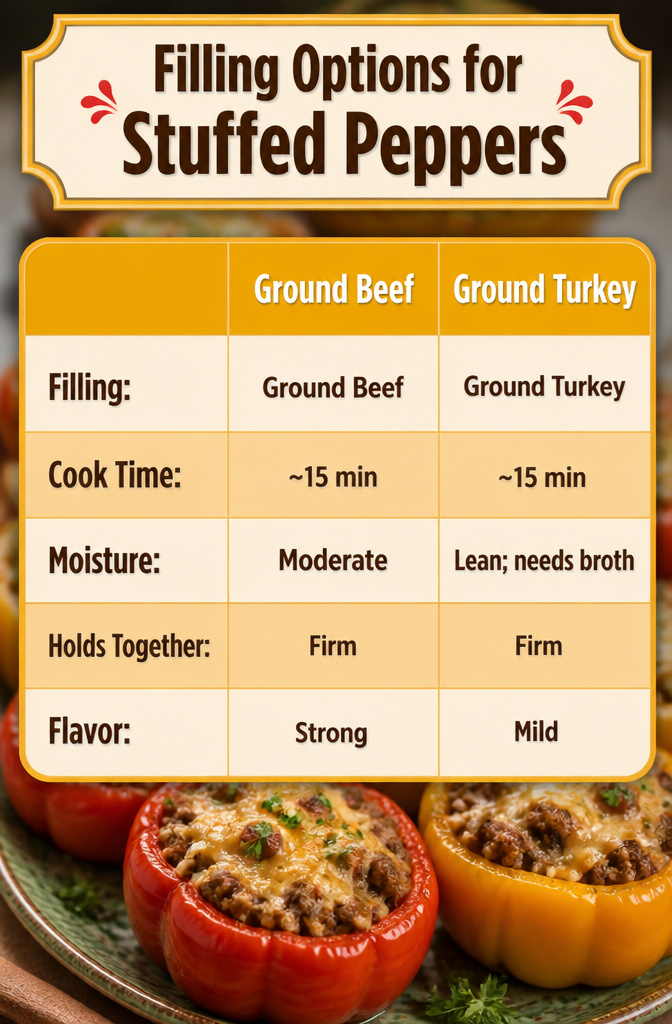
Ground beef takes about 15 minutes of skillet time before it is ready to stuff, and it holds together firmly once baked.
Ground turkey cooks through in roughly the same window, though it stays leaner and benefits from a splash of broth to keep the filling from drying out.
Shredded chicken is the fastest if you start with leftovers, but it wants a binder like cheese or tomato paste to keep the pepper from crumbling apart when you cut in.
| Filling | Cook Time | Moisture | Holds Together | Flavor |
|---|---|---|---|---|
| Ground beef | ~15 min | Moderate | Firm | Strong |
| Ground turkey | ~15 min | Lean; needs broth | Firm | Mild |
| Shredded chicken | Minimal | Dry; needs binder | Loose unless bound | Mild |
| Quinoa + black beans | 10–15 min | Moderate | Soft; dense | Mild |
The vegetarian route, with cooked quinoa and canned black beans, comes together in about 10 to 15 minutes on the stove and packs tightly into the pepper.
It does not slice as cleanly as meat, so serve these with a wide spoon rather than a knife if you want the face to survive the trip to the plate.
Cheese and Seasoning Pairs
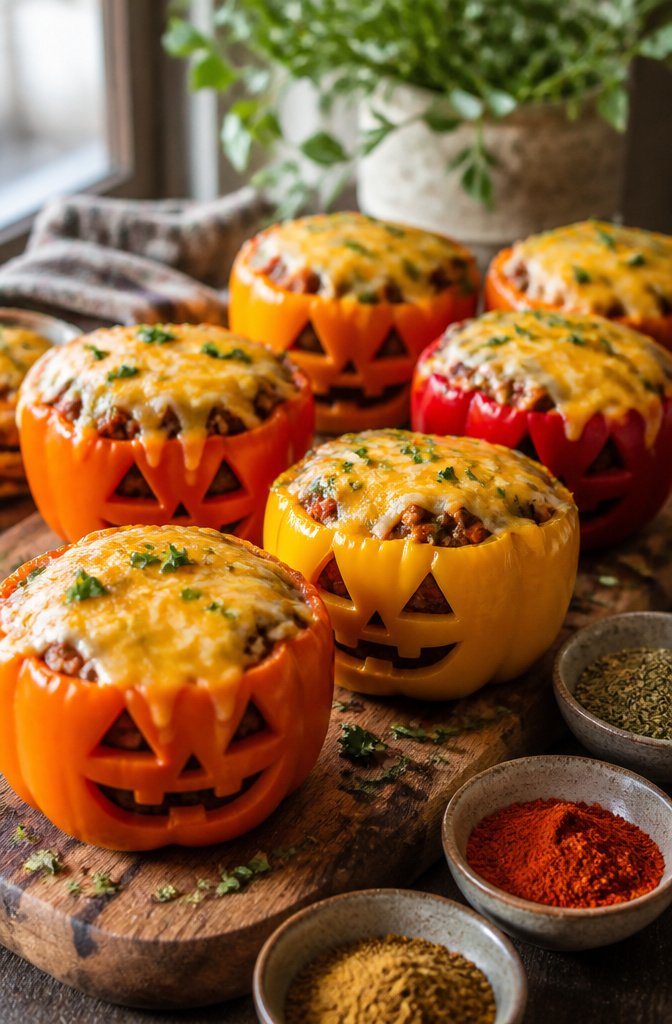
The cheese you choose changes what the pepper is. Cheddar gives you a sharp, melty lid that browns in spots and drips down the face.
Mozzarella stays stretchy and mild, which works when the filling already carries heat. Mixed Mexican cheese hits the middle: enough melt, enough flavor, and it saves you opening three bags.
Seasonings fall into two camps, and the cheese has to pick a side.
- Chili powder and cumin want the Mexican blend or a sharp cheddar. The earthy heat needs fat to land on, and mild mozzarella just sits there under it.
- Italian seasoning belongs with mozzarella. The oregano and basil read pizza-night, and cheddar fights that.
- Taco seasoning is built to play with the Mexican mix already; use it with cheddar if you want more punch, mozzarella if you want to tone the salt down.
If you are feeding kids who blanch at anything spicy, taco seasoning plus mozzarella is your safest bet. If adults are the only ones at the table, cumin and sharp cheddar is the combination that empties the pan.
Make-Ahead and Storage
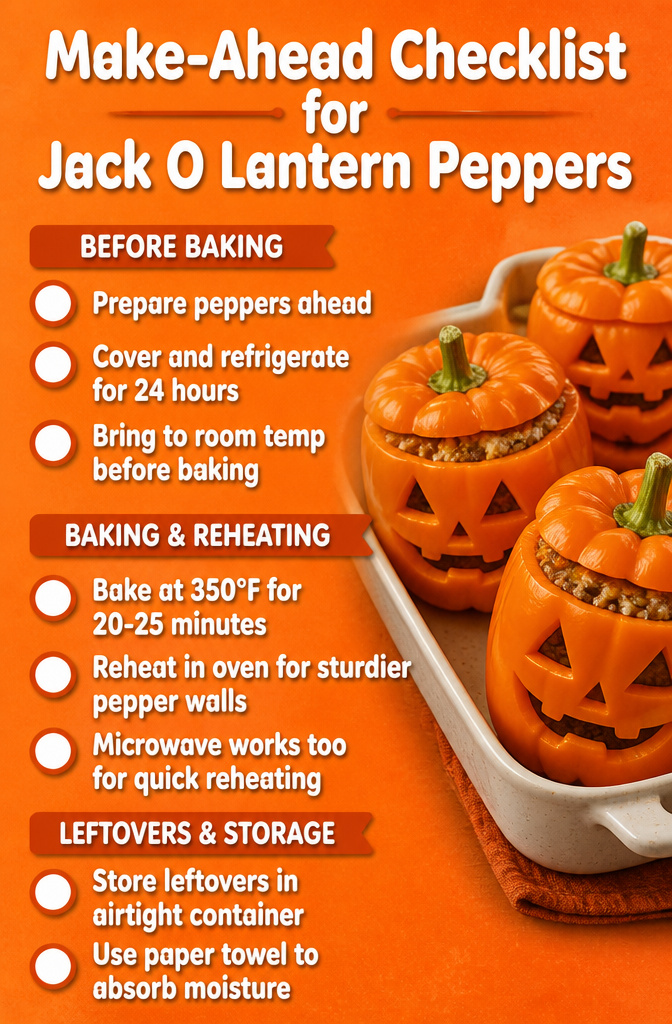
Assembled but unbaked jack o lantern peppers keep covered in the refrigerator for up to 24 hours. Bring them to room temperature while the oven heats, then cover with foil and bake at 350°F for 20 to 25 minutes until heated through.
You can also reheat them in the microwave, though the oven gives you a sturdier pepper wall that holds its carved face.
Leftovers go into an airtight container and last 3 to 5 days in the refrigerator. One thing to watch: condensation builds inside the container and softens the pepper faster than you’d think.
Lay a paper towel across the top before sealing the lid, or store the peppers upright with the cut face exposed to air rather than pressed against the container wall. They reheat well, but freezing is a gamble.
If you try it, expect plenty of liquid to release as they thaw overnight in the fridge. Drain that off before reheating so the filling does not turn soggy.
Nutrition by the Numbers
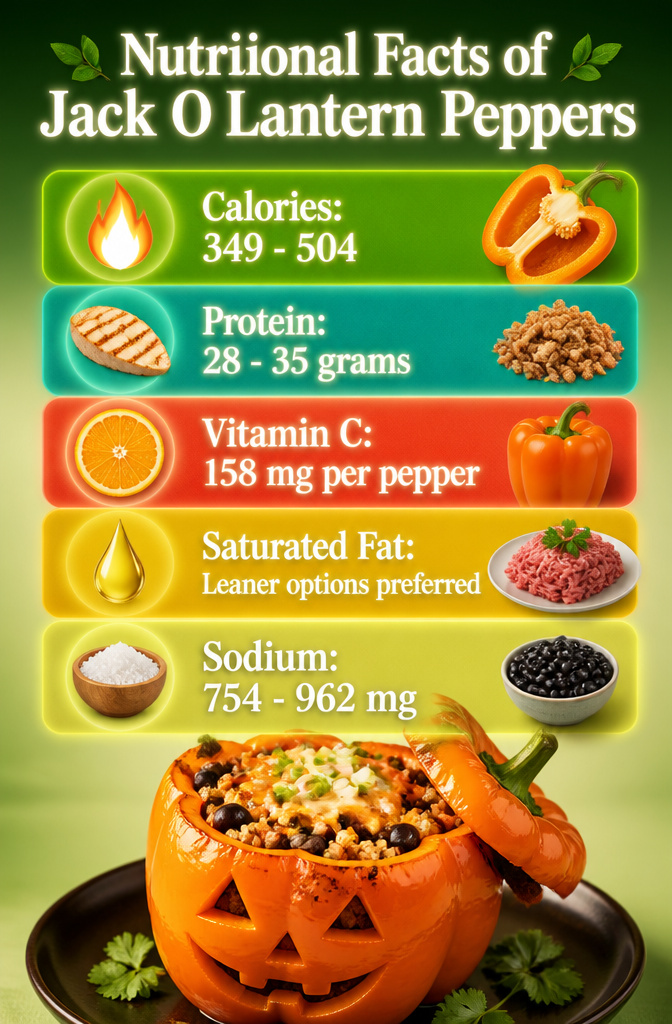
A single jack o lantern pepper lands somewhere between 349 and 504 calories depending on what you stuff inside, with protein ranging from 28 to 35 grams when you build it around a lean meat.
That spread matters because it shows how much control you have. The pepper itself is doing more work than you might expect.
One orange bell pepper delivers about 158 mg of Vitamin C, which is well above your daily need, plus a solid dose of Vitamin A. That is nutrition from the shell, not the filling.
Lean ground turkey or beef keeps the saturated fat in check, while quinoa and black beans add fiber without the cholesterol.
Sodium lands between 754 and 962 mg, so if you are watching that, skip the extra salt in the taco mix and let the cheese carry it.
The real advantage here is that the vegetable is the container. You are not serving peppers on the side of something heavier; the pepper is the plate, the insulation, and the nutrient source all at once.
That is why these work as a weeknight main without a salad to round them out.
Frequently Asked Questions
Can I make Jack o’ Lantern Peppers in advance?
Assembled but unbaked peppers keep covered in the refrigerator for up to 24 hours. Bring them to room temperature while the oven heats, then cover with foil and bake at 350°F for 20 to 25 minutes until heated through.
The oven gives you a sturdier pepper wall than the microwave, which also works if you are pressed for time.
What can I use instead of ground beef?
Ground turkey, shredded chicken, or a vegetarian mix of quinoa and black beans all work. Turkey stays leaner and wants a splash of broth so the filling does not dry out.
Chicken is fastest if you start with leftovers, but it needs cheese or tomato paste to bind it.
Quinoa and black beans pack tightly and come together in 10 to 15 minutes on the stove, though the result is softer and calls for a wide spoon rather than a knife.
How do I carve Jack o’ lantern faces on peppers?
Carve the peppers raw, before they soften. Slice the tops off, scrape out seeds and ribs with a spoon, then use your sharpest paring knife to cut small triangles for eyes and nose and a jagged line for the mouth.
A pen with edible ink lets you draw first and carve on the outside of the line, which beats freehanding unless your hand is very steady. The carved-out pieces can be discarded or chopped into the filling.
How do I make jack-o-lantern stuffed peppers?
Carve the raw peppers first, then cook your filling on the stove.
Pack the filling level with the top edge so the thin walls do not slump, set the peppers upright in a baking dish with half an inch of water, and bake covered at 350°F. Start checking early; pull them when a knife slides easily into the pepper wall, usually 15 to 65 minutes depending on density.
Uncover for the last 10 minutes if you want the top to brown.
Are Halloween peppers edible?
Yes.
The orange bell peppers used for jack o’ lantern peppers are fully edible and deliver about 158 mg of Vitamin C each, well above daily need, plus a solid dose of Vitamin A. They are not a separate decorative variety; they are ordinary bell peppers carved before baking, then eaten shell and all.