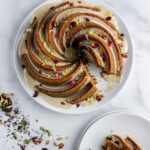

Half vanilla, half chocolate, this 9-inch zebra print cake gets its stripes from the batter itself: alternate 3-tablespoon scoops into the center of the pan and the rings form on their own.
Total time is 1 hour 10 minutes. Use Dutch-process cocoa, because natural cocoa turns the chocolate rings soapy.
Zebra Cake Ingredients
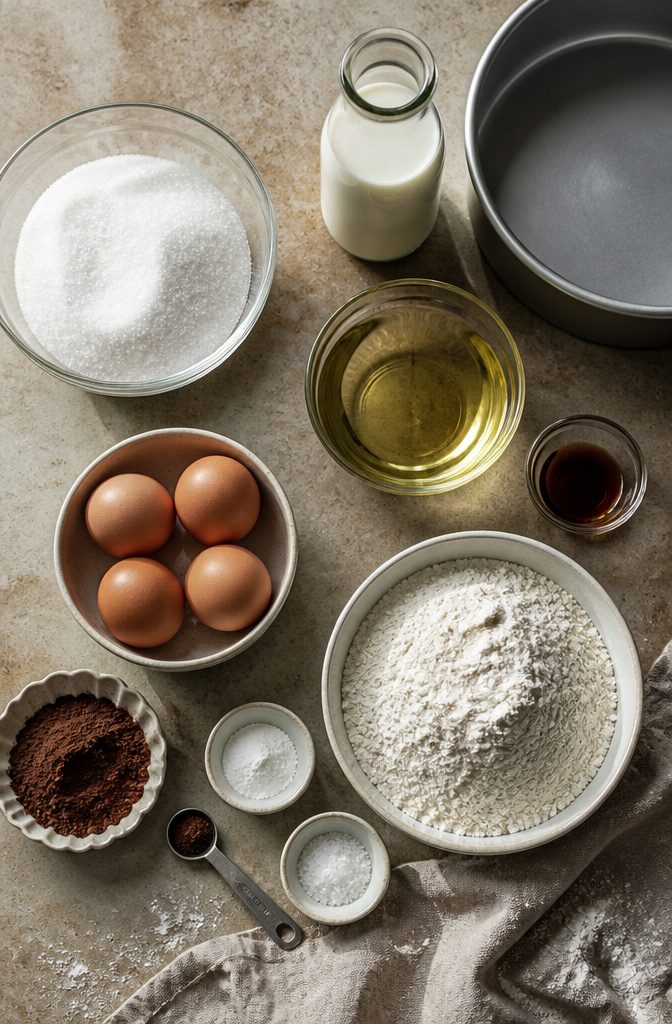
This makes one 9-inch round cake in a 9-by-2-inch pan: 30 minutes prep, 40 minutes cook, 1 hour 10 minutes total. Buy Dutch-process cocoa, because natural cocoa gives a heavy, soapy taste.
Here is everything you need:
- 1 1/2 cups (298g) granulated sugar
- 4 large eggs
- 1 cup (227g) milk
- 3/4 cup (149g) vegetable oil
- 1 tablespoon (14g) vanilla extract
- 1/4 teaspoon almond extract (optional, for extra flavor)
- 2 cups (240g) all-purpose flour
- 2 teaspoons baking powder
- 3/4 teaspoon table salt
- 3 tablespoons (16g) Dutch-process cocoa
- 3/4 teaspoon espresso powder (optional, for extra flavor)
Zebra Cake Method
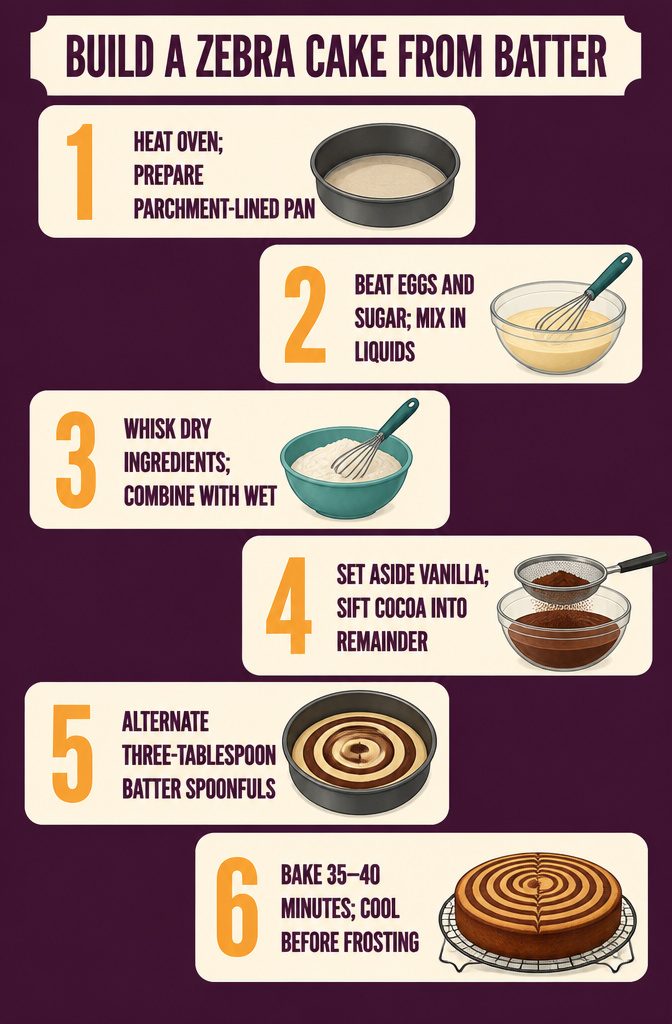
- Heat the oven to 350°F. Spray a 9-inch round pan, line the bottom with parchment, and spray again.
- Beat the sugar and eggs about 2 minutes, until lightened. On low speed, mix in the oil, milk, and extracts until smooth.
- Whisk the flour, baking powder, and salt in a separate bowl. Mix it into the wet ingredients until smooth, scraping the bowl halfway through.
- Set aside 2 cups of the vanilla batter. Sift the cocoa (and the espresso powder, if using) over it, then stir. Sifting keeps out lumps.
- Spoon about 3 tablespoons of vanilla batter into the center of the pan. Spoon 3 tablespoons of chocolate batter on top of it, and keep alternating until the batter is gone. The rings build outward in a bull’s-eye.
- Bake 35–40 minutes, until a toothpick comes out clean. Cool in the pan 10 minutes, move to a wire rack, and frost as desired.
Why the Stripes Work
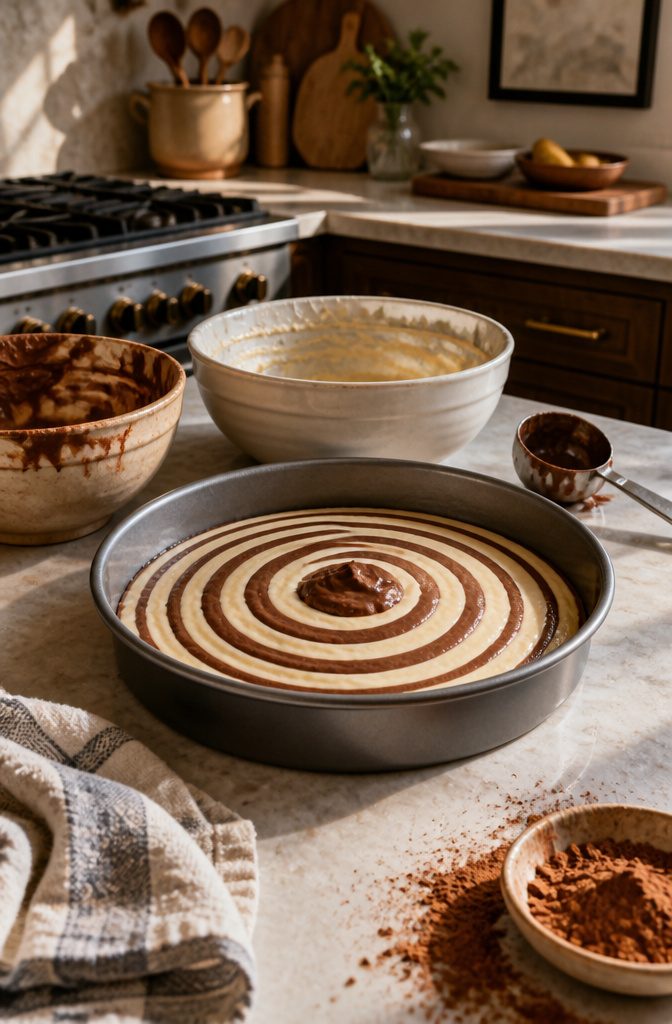
The stripes come from pouring, not drawing. Vanilla and chocolate batter go into the center of the pan one after the other, and each addition pushes the previous one outward.
Keep 2 cups of the vanilla batter in reserve for this, then scoop 3 tablespoons at a time, alternating colors, always into the middle of the pan. The batter spreads in rings, and the rings show up as stripes when you slice.
Keep every scoop the same size. Uneven scoops give you one fat band and one thin one.
Other recipes get stripes differently. Some layered cakes drag a knife through the batter in horizontal and vertical lines to marble it, and snack-cake versions pipe chocolate stripes onto a coated cake after baking.
The center-pour method needs neither, so there is no decorating step once the cake is out of the oven.
Fondant Stripes
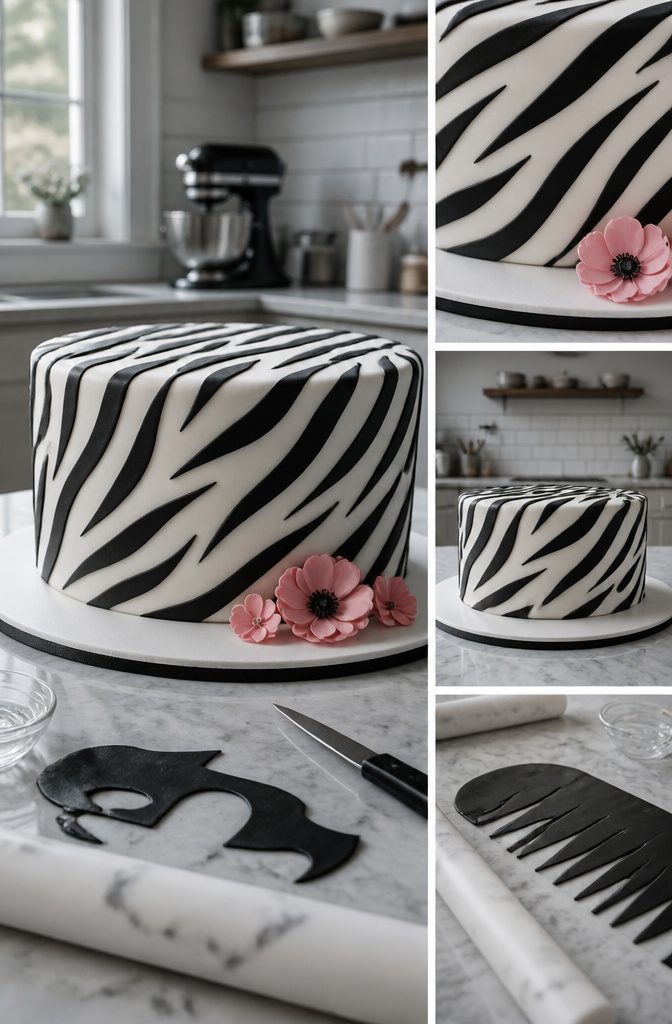
Drape white fondant over the cake so the rounded edge has no seam.
Roll black fondant as thin as you can without it turning see-through, about 1/32 of an inch. Cut random stripes with a sharp knife, each with pointed ends.
Brush piping gel where a stripe will go, lay it down, and smooth it flat. The decorating takes under 30 minutes.
Keep a zebra photo nearby so the stripes look believable.
Bag any fondant you aren’t using so it doesn’t dry out. Thin stripes taste better and read more like a printed pattern.
On a tiered cake, mix in cheetah print, leopard spots, or a chocolate drip tier. On a single tier, set sugar flowers on the cake board for color.
Tools and Shaping
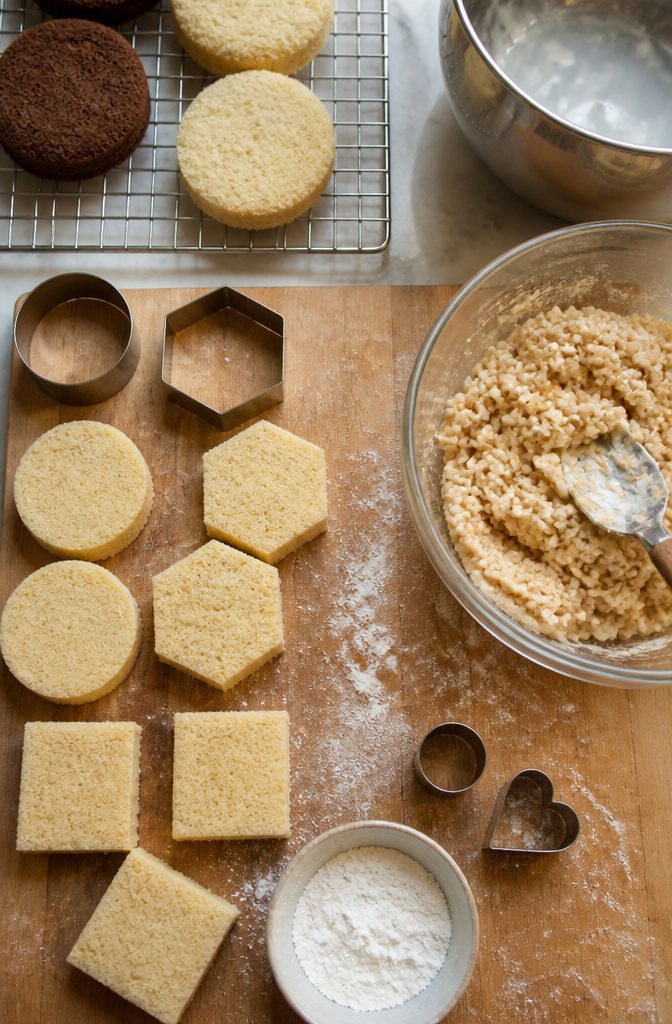
The sculpted zebra starts with rice-cereal treats, shaped by hand into a head and limbs.
Microwave 3 cups of mini marshmallows in a heatproof bowl for 45–60 seconds until melted, then mix in 4½ cups of puffed rice cereal. Small circle and heart-shaped cutters take care of the face details.
The snack-cake versions depend on one cutter.
A 2-inch hexagon cutter yields 32 hexagons, and a 2.5-inch circle cutter yields 12 circles. Choose the circles for fewer, bigger cakes and the hexagons for a smaller bite.
Square cakes need no cutter at all; trim off the rounded edges first so every corner is crisp. Dip the cutter in flour, or wipe it every 2–3 cuts, so crumbs don’t stick.
For the black and white contrast, gel coloring such as Americolor or Chef Master gives you concentrated color.
Storage and Make-Ahead
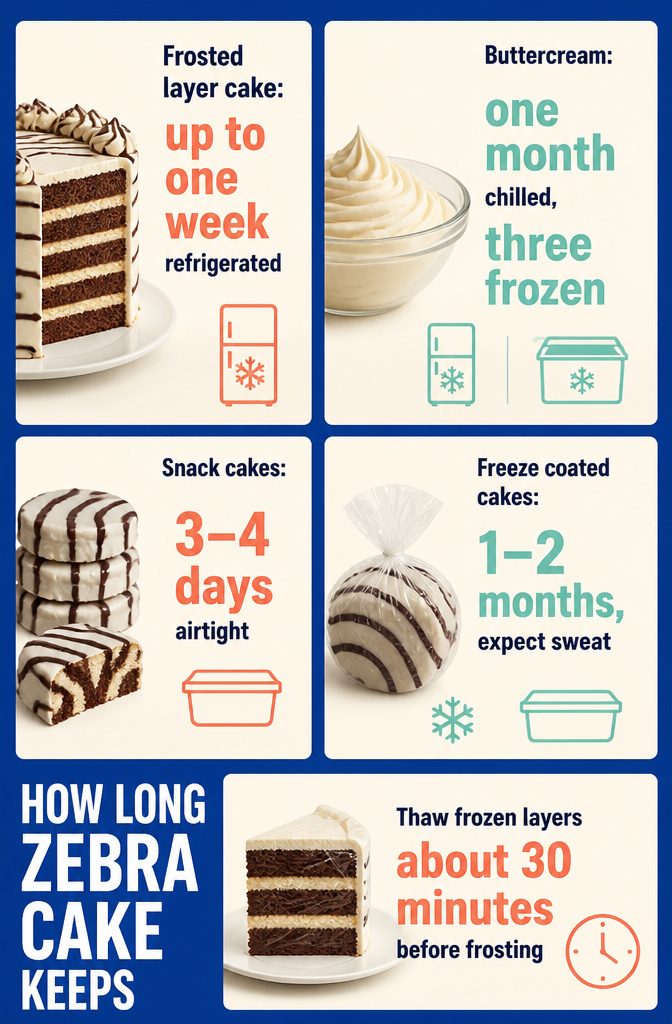
Snack cakes and layer cakes keep on very different clocks, so match the figure to what you made.
- Layer cake layers: bake ahead and freeze them, then thaw about 30 minutes before frosting. It splits the job into two easier days.
- Frosted layer cake: up to a week in the fridge. The buttercream holds in moisture.
- Cut layer cake: press leftover frosting over the cut face and refrigerate, again up to a week.
- Buttercream on its own: up to a month in an airtight container in the fridge, or 3 months frozen. Stir it well after thawing to smooth it out.
- Coated snack cakes: 3–4 days in an airtight container. To freeze for 1–2 months, let the chocolate harden fully, wrap each cake in plastic wrap, then pack them in an airtight container. The coating will likely sweat after thawing.
Substitutions
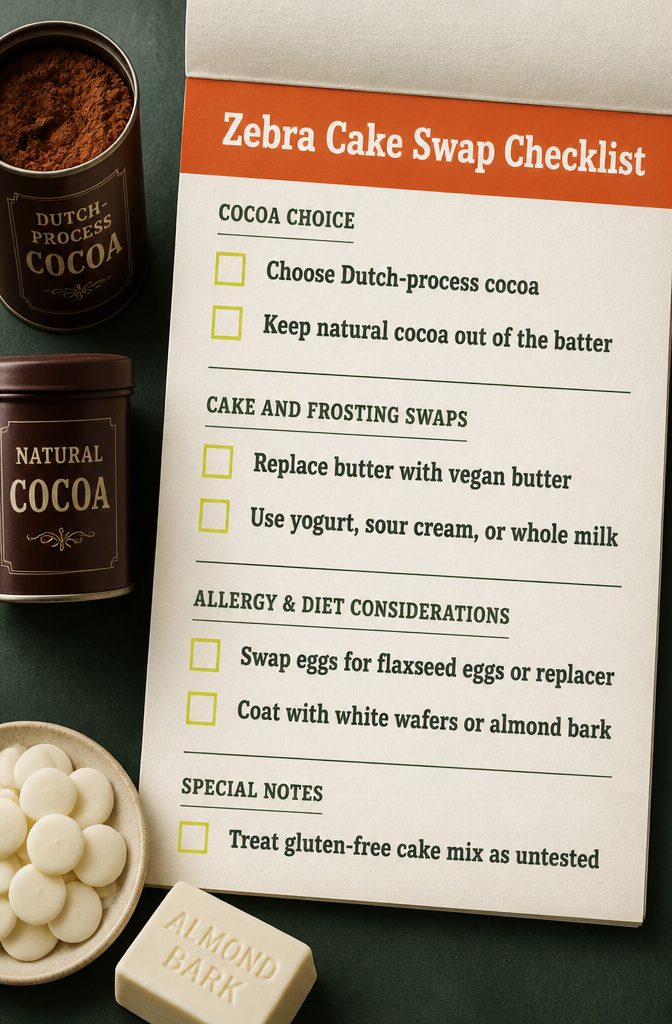
Cocoa is the one swap that only goes one direction.
Be sure to use dutched cocoa with this recipe. Natural cocoa will result in a heavy, soapy taste to the cake.
Buy Dutch-process and leave the natural cocoa in the pantry. These swaps also work:
- Dairy-free cake and frosting: vegan butter replaces butter. Almond, soy or oat milk replaces the heavy cream in frosting.
- Buttermilk: full-fat yogurt, sour cream or whole milk all work.
- Egg allergy: flaxseed eggs or an egg replacer.
- Snack-cake coating: use white melting wafers, or almond bark with a spoonful of vegetable shortening, not plain white chocolate chips, which won’t give a thin coat.
- Almond bark: it isn’t true chocolate, but it melts easily.
- Gluten-free cake mix: untested, so treat it as an experiment.
Frequently Asked Questions
How do you make a zebra print cake at home?
Make one batter, split off 2 cups and stir cocoa into it, then spoon 3 tablespoons of vanilla and 3 tablespoons of chocolate into the center of a 9-inch pan, alternating until the batter is gone.
Bake at 350°F for 35–40 minutes. The stripes form inside the cake as the batter spreads in rings, and black fondant stripes on a white fondant cover give the printed look outside.
What is the best white coating for zebra snack cakes?
White melting wafers, or almond bark with a spoonful of vegetable shortening stirred in before melting.
Plain white chocolate chips melt too thick and won’t coat the cakes thinly. Melt in 30-second bursts at 50% power, stirring each time, so the coating doesn’t overheat.
What is almond bark?
Almond bark is a candy coating rather than real chocolate, though it is flavored to taste like it.
It melts easily, which makes it a good coating for snack cakes. Some brands run thick, so add a spoonful of vegetable shortening before melting.
Can you freeze zebra cake?
Yes. Bake the layers ahead and freeze them, then thaw about 30 minutes before frosting.
Buttercream keeps up to 3 months frozen, and coated snack cakes freeze for 1–2 months once the chocolate has fully hardened. Wrap each snack cake in plastic wrap first, and expect the coating to sweat a bit after thawing.
Can I make zebra cake with gluten-free cake mix?
It is untested here, so treat it as an experiment.
Use your favorite gluten-free cake mix and expect the texture to differ from the scratch recipe. Check that the stripes still hold their rings before you commit to a special occasion.
Can I bake zebra snack cakes in a sheet pan?
Yes.
Double the snack-cake recipe and bake it in a large rimmed sheet pan. The cake comes out thinner, so you skip the horizontal slicing: cut out circles and stack them.
Are zebra cakes cookies?
No, they are snack cakes. The homemade versions are built from cake layers with a creme filling, a thin white coating, and chocolate stripes on top.