
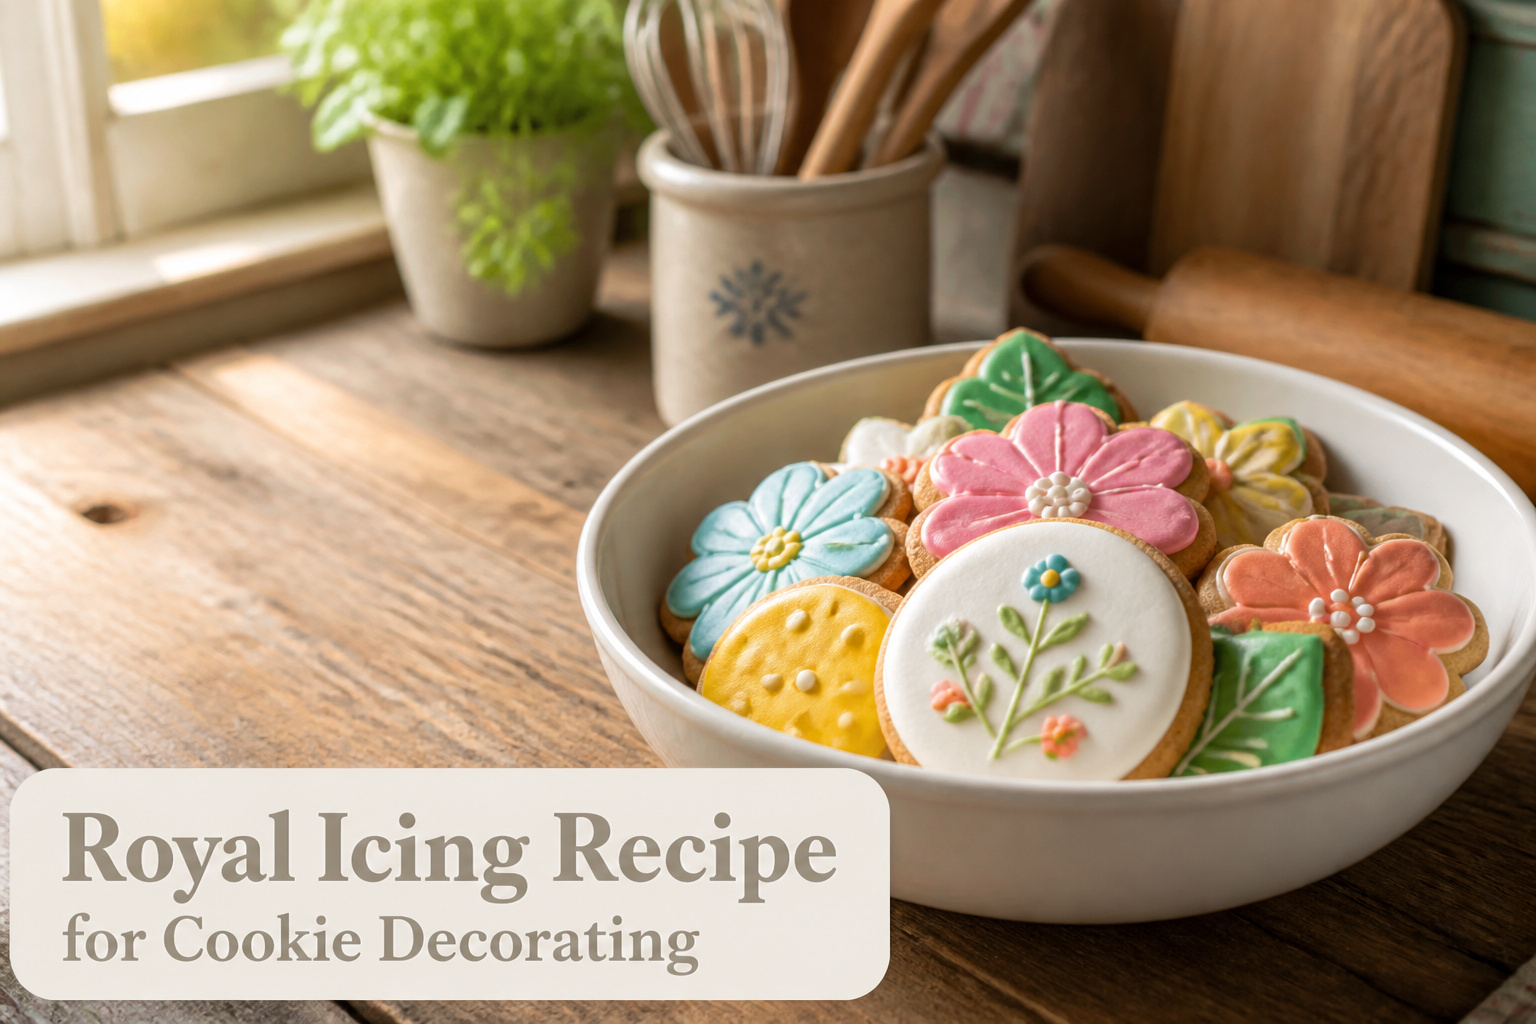
This royal icing dries to a clean, hard shell that lets you stack decorated cookies without a smudge, and the meringue powder base means no raw eggs to worry about.
Total time is about 10 minutes to mix, plus 4 to 8 hours to dry.
Humidity is the real enemy: in damp air the surface stays tacky and colors bleed, so a fan, dehumidifier, or air-conditioned room can rescue the batch.
The four consistencies matter here, from a 10-second flood to stiff peaks for roses, and each one changes with a half-teaspoon of water or a spoonful of sugar.
What Royal Icing Is and When to Make It
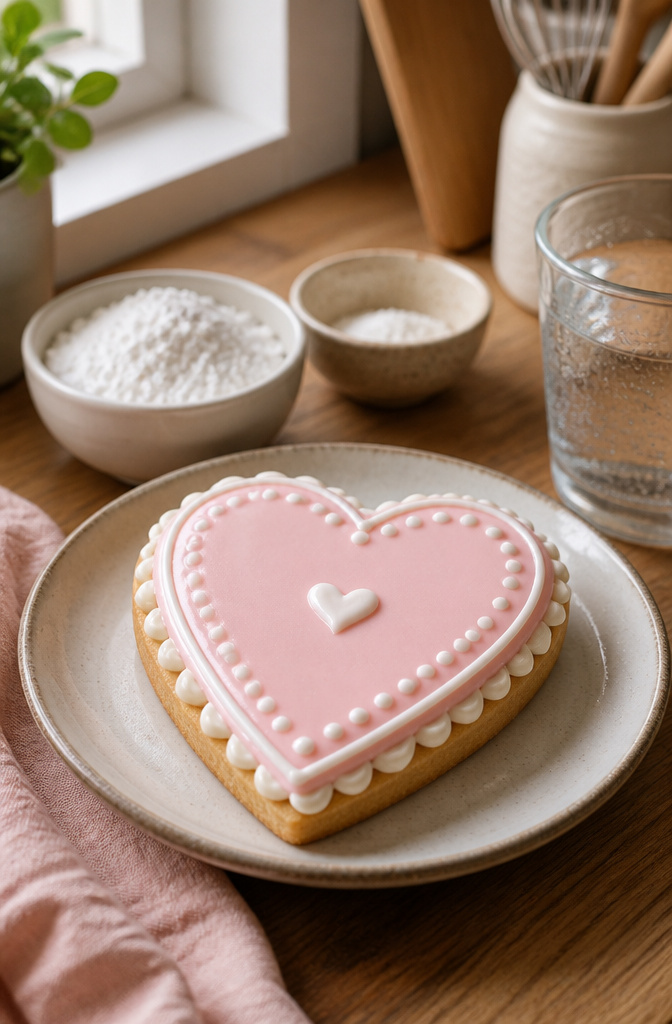
Royal icing is a hard-drying icing made from powdered sugar and meringue powder or egg whites, used for decorating cookies and other baked goods.
Meringue powder is the safer, easier choice because it eliminates raw eggs while delivering the exact same sturdy, stable result. The icing hardens completely once dry, so decorated cookies can be stacked or bagged without smudging.
You only need three ingredients: confectioners’ sugar, meringue powder, and water. The real challenge is hitting the right consistency, which shifts batch to batch.
Sometimes you need more water, sometimes less. The fix is simple: thin it with a few extra drops of water, or stiffen it with more sugar.
Gel food coloring works best for tinting; it adds color without throwing off the liquid balance. For flavor, lemon juice powder keeps the intensity up without extra liquid.
Regular extract works too, but pull back on the water to compensate.
Ingredients
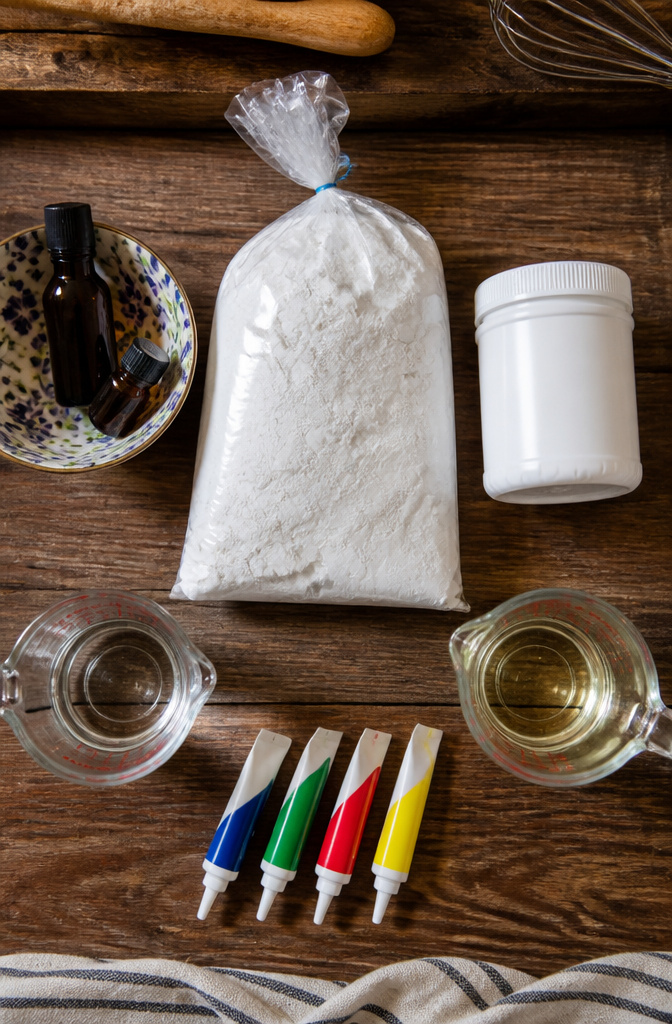
Fresh eggs and a candy thermometer stay in the cupboard for this recipe. The base mix is shelf-stable, and every ingredient is sold in the baking aisle.
- 1/3 cup meringue powder — this is what hardens the icing and lets it dry to a shell you can stack or bag
- 2 pounds powdered sugar (about 8 cups) — the full two-pound bag, not a partial scoop
- Approximately 1 cup warm water — start with slightly less if you will not be thinning the icing later for flooding
- 1 tablespoon light corn syrup, optional — adds a little sheen and keeps the set icing from turning brittle; skip it if you want a matte finish
- Flavoring extracts such as vanilla or lemon — add to taste, but keep the total under about 2 teaspoons so you do not soften the mix too far
Gel food coloring comes in after the base is mixed, when you divide the batch for different colors. It is not part of the base recipe.
How to Make and Use Royal Icing
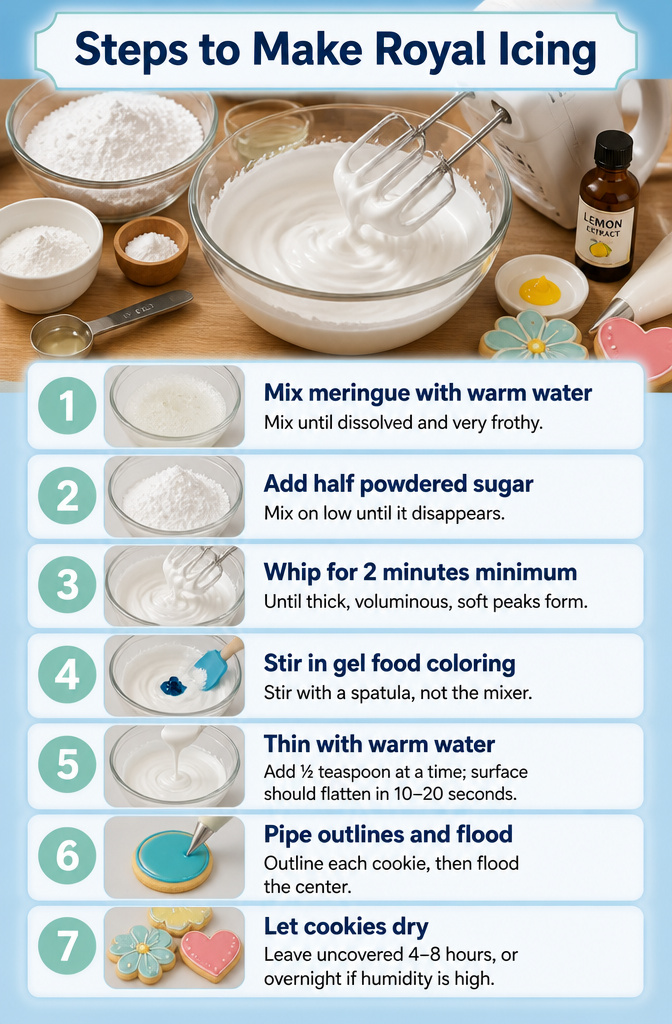
- Mix 2 tablespoons meringue powder with 4 tablespoons warm water in a large bowl. Run a hand mixer on high until the mixture dissolves completely and turns very frothy. Check that no grease or oil residue remains in the bowl first, or the icing will fail.
- Add half the powdered sugar. Mix on low until it disappears into the liquid. Add the remaining powdered sugar, 1 tablespoon light corn syrup, and 2 teaspoons lemon extract. Mix on low to combine, then whip on high for 2 minutes minimum. Taste and adjust lemon if needed.
- The icing should hold a soft peak and feel thick with extra volume. This is your stiff consistency for piping outlines and details that must keep their shape.
- Stir in gel food coloring with a spatula, not the mixer. This avoids whipping in more air bubbles that mar the finish.
- To thin for flooding, add ½ teaspoon warm water at a time and stir with a spatula. Test by drizzling a spoonful back into the bowl: the surface should flatten in 10–20 seconds. Some decorators prefer 8–10 seconds for a thinner flood; others stop at 15. For stiffer icing, work in more powdered sugar.
- Pipe outlines around each cookie, then flood the center with thinner icing. Use a toothpick or scribe tool to push the flood into corners and pop bubbles.
- Leave cookies uncovered to dry 4–8 hours, or overnight if humidity is high. The surface should feel hard and matte before you stack or bag them.
The Four Consistencies

Royal icing decorating works because you control how thin or thick the icing is for each job. Most decorators keep four consistencies on hand:
- Flood icing is thin enough to pour and level on its own. Draw a line through it with a spoon; the groove should flatten in 10–20 seconds. Some decorators go as thin as 5 seconds for very large areas, though 8–10 seconds is the safer starting point for a home kitchen. Give the cookie a gentle side-to-side shake after flooding to smooth the surface.
- Medium consistency sits between flood and stiff. It holds a line for outlining cookies and writing text, and you can still use it to fill small shapes like leaves without switching bags. The count runs roughly 15–25 seconds, with the shorter end for filling and the longer end for lettering.
- Stiff icing holds a peak and keeps its shape. Use it for roses, ruffles, and any detail that needs to stand up off the cookie.
- Putty consistency is thick enough to model with, almost like clay. It is what you reach for when you need a three-dimensional bow or a small figure that dries hard.
Meringue Powder vs. Egg Whites
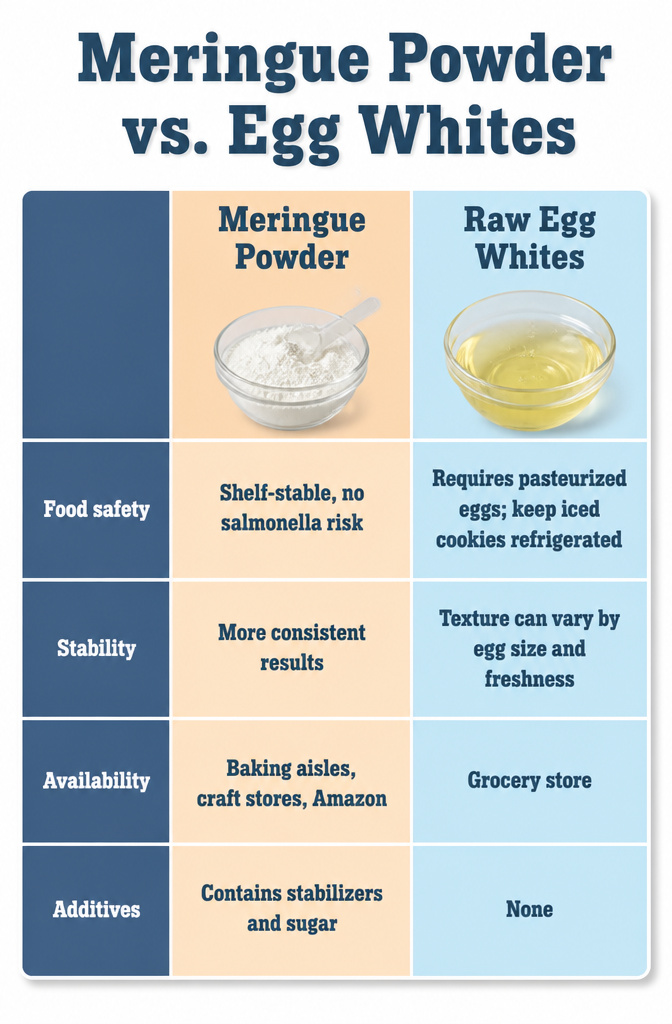
Meringue powder wins on safety, and that is the main reason this recipe calls for it. You skip the raw egg entirely, which removes any salmonella risk and lets decorated cookies sit out instead of taking up fridge space.
The powder also keeps longer and behaves more predictably batch to batch.
| Meringue Powder | Raw Egg Whites | |
|---|---|---|
| Food safety | Shelf-stable, no salmonella risk | Requires pasteurized eggs; keep iced cookies refrigerated |
| Stability | More consistent results | Texture can vary by egg size and freshness |
| Availability | Baking aisles, craft stores, Amazon | Grocery store |
| Additives | Contains stabilizers and sugar | None |
Egg whites can give a slightly different finish, some decorators find them shinier or quicker to dry. For most weeknight cookie projects, the trade is not worth the extra caution meringue powder removes.
Buy the 8 ounce container online, it lasts through many batches and costs less than you would expect for something that eliminates this much guesswork.
Drying Time and Humidity
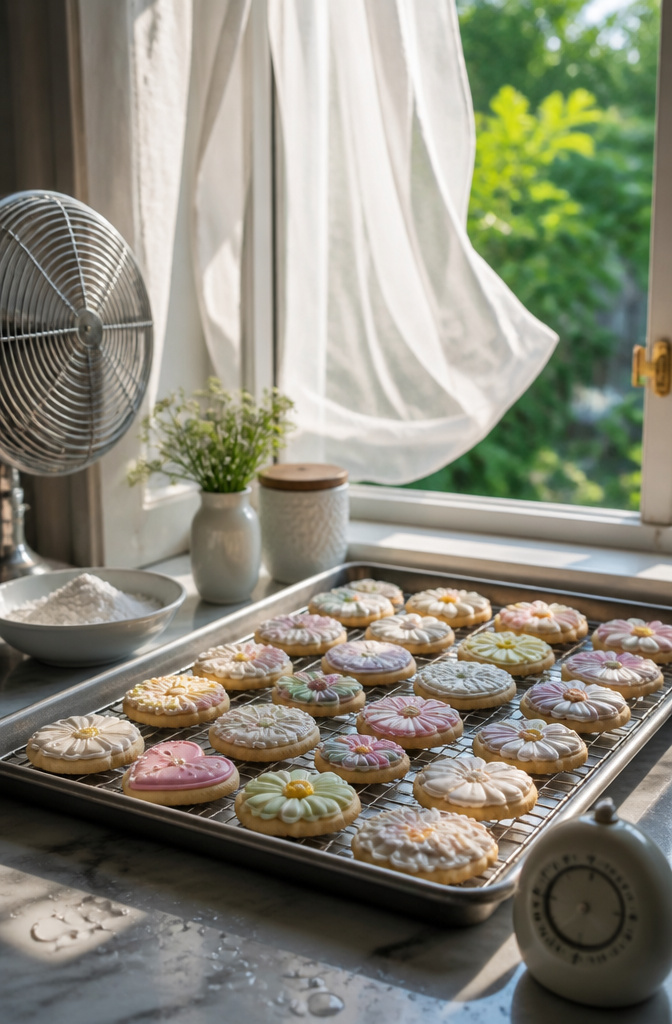
Thin royal icing can set in as little as 15 minutes if you are just layering details on top of a base coat, but the full piece needs 4 to 6 hours minimum before you risk moving it.
A thick layer or heavily piped design can sit for 24 hours and still not be ready. Humidity is the reason you will wait longer than you planned.
In damp air the surface stays tacky, the colors bleed, and nothing fully hardens.
If you live somewhere humid and your cookies are not drying, move them to a room with a window air conditioner running, or set up a fan or dehumidifier nearby. A food dehydrator on its lowest setting also works.
Give your cookies at least four hours to dry before attempting to move them.
That four hours is your floor, not your promise. Check by touching an edge you will not serve; the icing should feel hard and your design should not smudge when you press lightly.
If it gives at all, you wait.
Storage
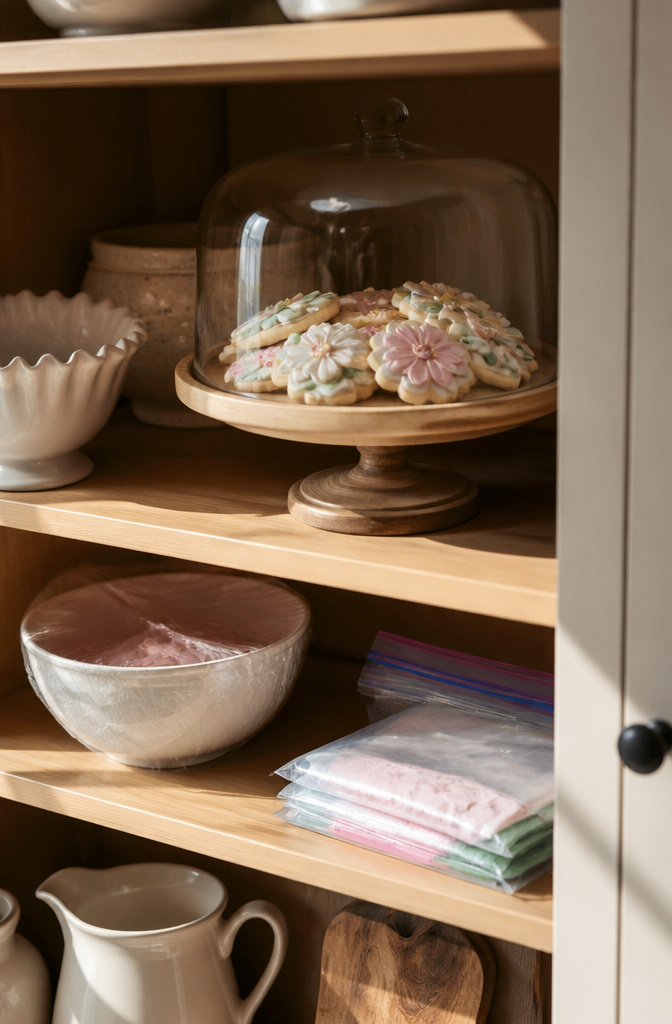
Leftover royal icing crusts fast, so press plastic wrap directly onto the surface before you add a lid or another layer of wrap. Refrigerated this way, it keeps for 2 to 3 days.
For longer storage, freeze it in zipped freezer bags with the air squeezed out, laid flat, for up to 2 months.
Thaw overnight in the refrigerator, then bring it to room temperature and re-whip before you pipe; it may have separated or thickened, and a few drops of water will loosen it back up.
Finished cookies are a different story. Once the icing is fully dry, store them at room temperature in an airtight container with parchment between layers.
They stay fresh about 5 days this way, or freeze up to 3 months if you need them to last.
Flavoring and Add-Ins
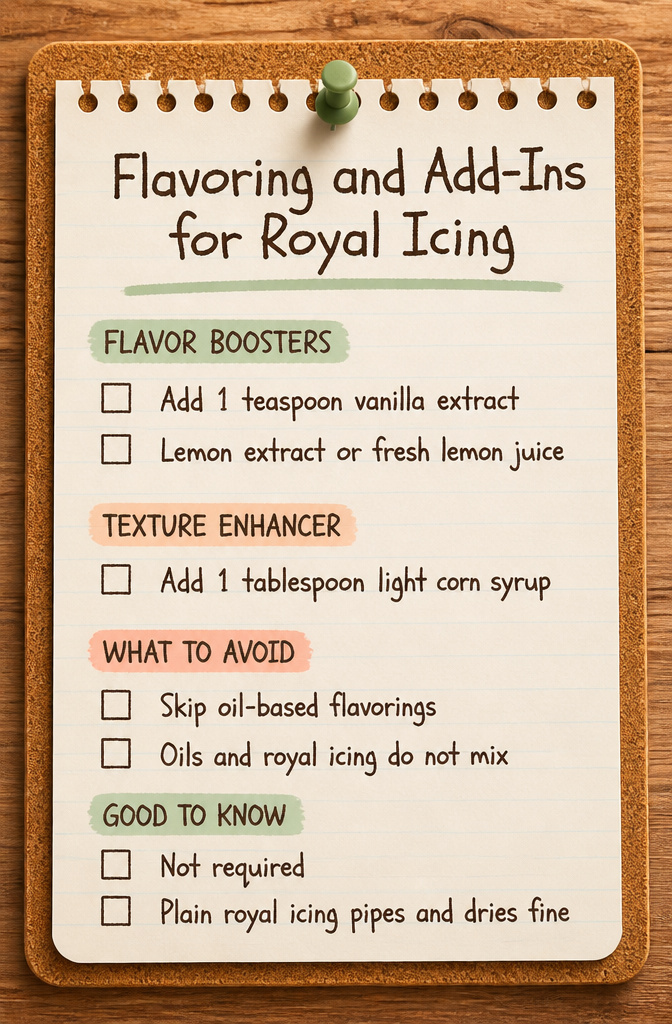
You can change the way royal icing tastes and handles without breaking the recipe. A few small additions do the work.
- Add 1 teaspoon of vanilla extract for a mild, familiar sweetness that keeps the icing from tasting like pure sugar. Lemon extract or a small splash of fresh lemon juice cuts the sweetness harder and leaves a cleaner finish on the tongue.
- Add 1 tablespoon of light corn syrup for a softer set and a slight sheen on the dried surface. The icing stays more flexible, which helps on cookies that travel or stack. This is the amount that shows up in the recipes that prize texture.
- Skip oil-based flavorings entirely. Oils and royal icing do not mix. The fat breaks the meringue structure and the icing will separate or refuse to dry hard. Check your bottles: if it says "oil-based," set it aside for buttercream instead.
None of these are required for the icing to function. Plain royal icing pipes and dries fine.
But vanilla or lemon fixes the flavor problem you notice halfway through decorating a dozen cookies, and corn syrup solves the chalky, brittle surface that makes finished cookies look homemade in the wrong way.
Frequently Asked Questions
How long does royal icing take to dry?
Royal icing needs at least four hours before you can move decorated cookies, and a full piece should get six to eight hours minimum. Thick or heavily piped designs can take up to 24 hours, and humid air stretches every timeline.
You will know it is ready when the surface feels hard and your design does not smudge under light pressure.
Can you freeze royal icing?
Yes. Pack leftover royal icing in zipped freezer bags with the air pressed out, lay them flat, and freeze for up to two months.
Each color needs its own bag. Thaw overnight in the refrigerator, then bring to room temperature and re-whip before piping.
A few drops of water will loosen it if it thickened.
What is the best way to store royal icing?
Press plastic wrap directly onto the surface so a crust cannot form, then add a lid or another wrap layer on top. Refrigerated this way, it lasts two to three days.
Finished cookies with fully dry icing store at room temperature in an airtight container with parchment between layers for about five days.
What is the 10 second rule for royal icing?
The 10 second rule, or 10 to 20 second rule, measures flood icing consistency. After you stir in water to thin the icing, drizzle a spoonful back into the bowl and count how long the surface takes to flatten.
Most decorators aim for 10 to 20 seconds; some prefer 8 to 10 seconds for very large areas, though 10 is the safer starting point at home.
What are the common problems with royal icing?
The biggest culprits are humidity, grease, and oil-based flavorings. Humidity prevents drying and makes colors bleed, so run an air conditioner, fan, or dehumidifier nearby.
Any grease or oil residue in your bowl will make the icing fail entirely. Oil-based extracts and flavorings also wreck the meringue structure and stop the icing from setting hard.
Does royal icing set hard?
Yes, royal icing dries to a hard, candy-like shell that you can stack or bag without smudging.
That hardness serves a purpose: it supports piped outlines and details on top of a base coat, and it shields decorated cookies during travel or storage. The surface should feel hard and matte before you move the cookies.
What are the three types of royal icing?
Most decorators actually work with four consistencies, not three. Flood icing is thin and levels on its own in 10 to 20 seconds.
Medium sits between flood and stiff for outlining and small fills. Stiff holds a peak for roses, ruffles, and details that must stand up.
Putty is thick enough to model three-dimensional shapes like bows.