
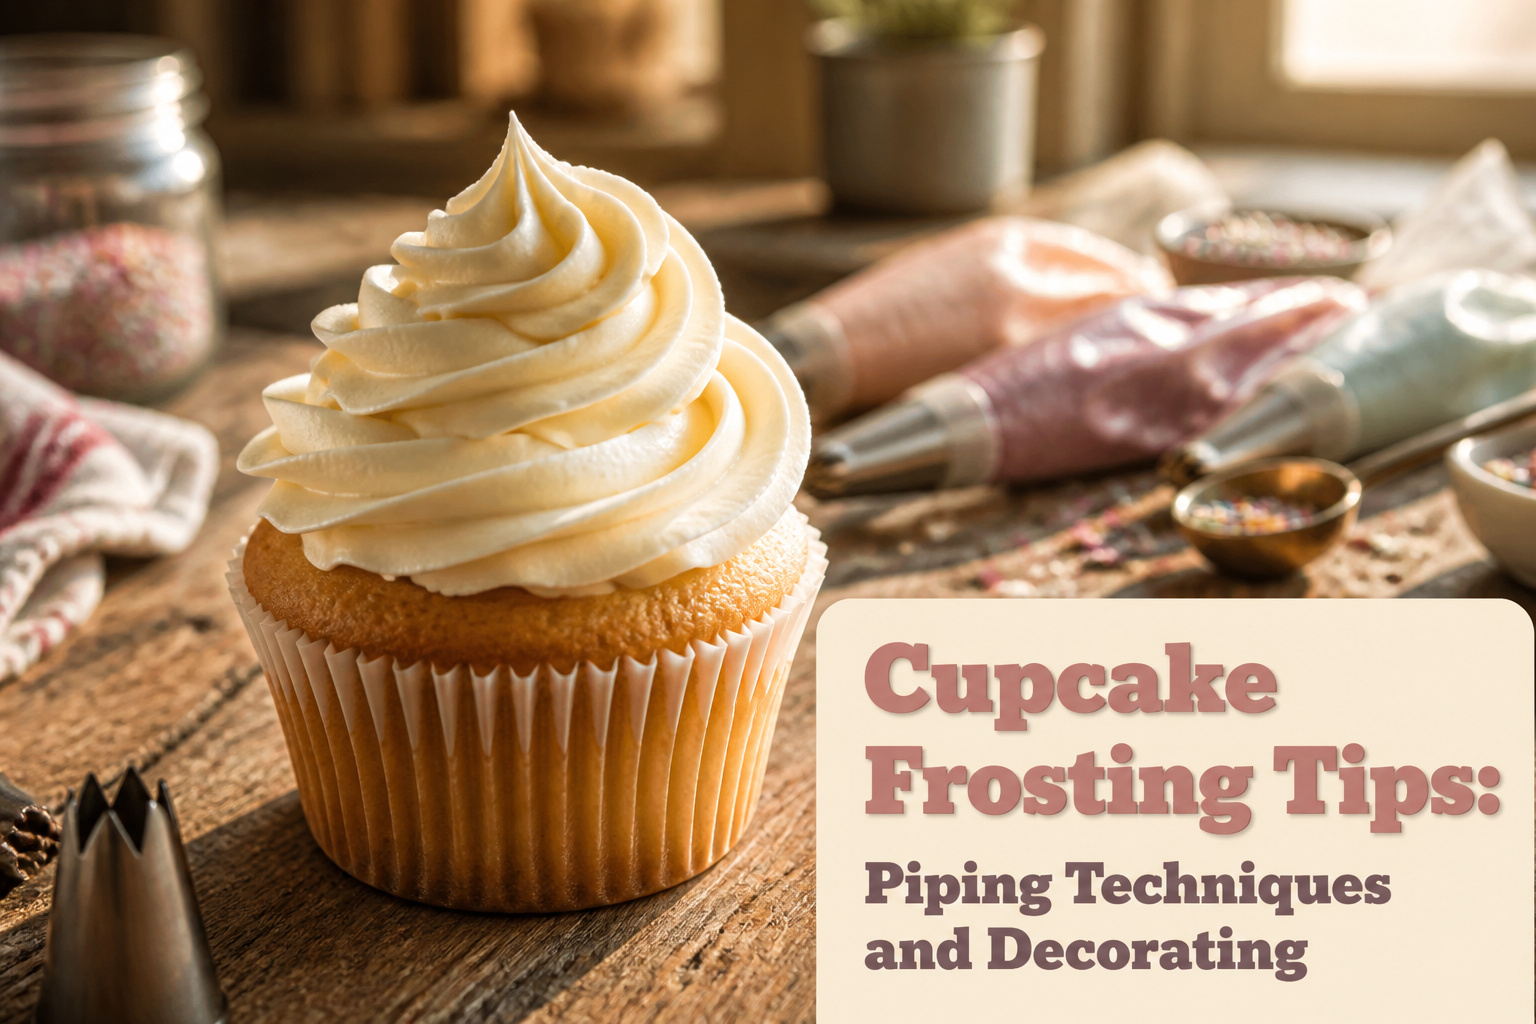
A well-piped swirl of buttercream should taste like fresh vanilla and hold its ridges for hours without cracking or slumping.
The difference between a bakery case finish and a home kitchen result comes down to frosting consistency, not hand steadiness: medium consistency frosting holds a trough for a second before relaxing back into itself, and the Wilton 1M open star tip at half an inch above the cupcake does the rest.
What the Frosting Consistency Should Look Like
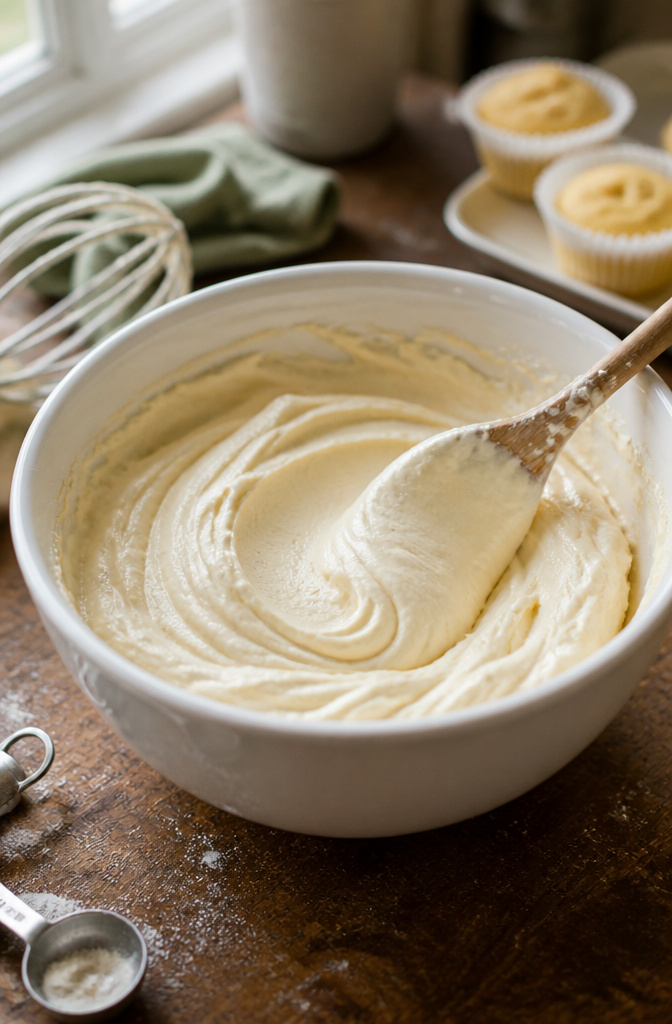
Medium consistency frosting is what you need for piping swirls that hold their shape without fighting back. Start with a basic buttercream, then thin it a teaspoon at a time with water, milk, or light corn syrup.
Two tablespoons is the ceiling, and only if you are working with a pure white base that starts stiffer than usual.
When piping swirls it is best to use a medium consistency frosting.
— Wilton
Too stiff and the frosting cracks or comes out in ragged ridges; too soft and the swirl slumps into a puddle before it sets. The test is simple: drag a spoon through the bowl.
The frosting should hold the trough for a second, then slowly relax back into itself. If it snaps back immediately, add liquid.
If it never holds the shape at all, you have gone past the point and need more sugar, not more patience.
Piping Bag Setup
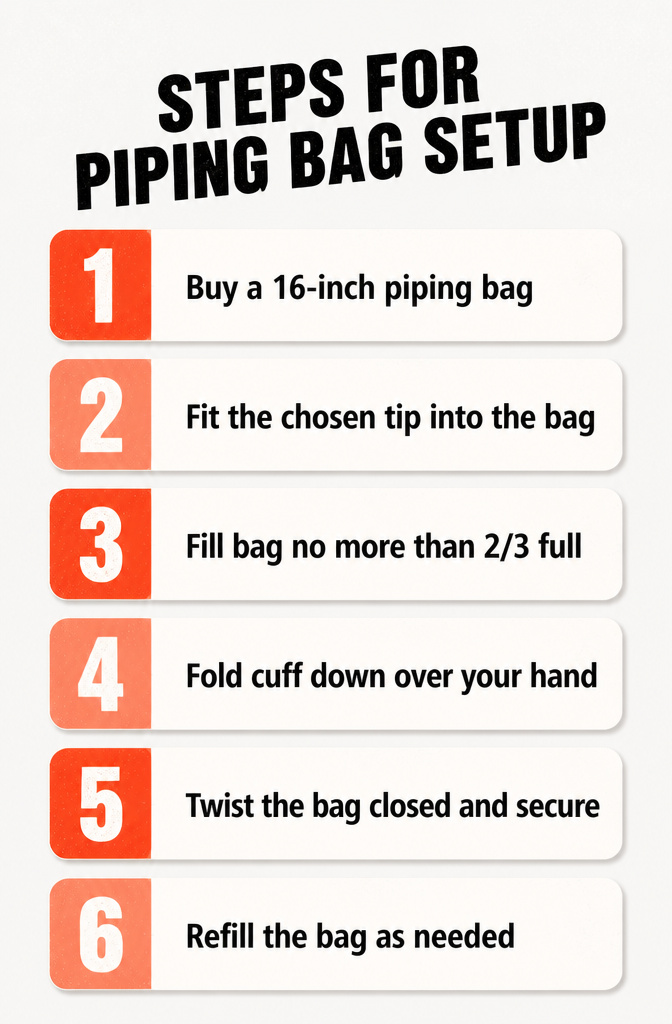
A 16-inch piping bag is the size to buy whether you are decorating a single batch or doubling up. Fit your chosen tip into the bag first, then fill it no more than two-thirds full.
Past that line, the bag becomes hard to close and harder to squeeze, which tires your hand fast and pushes frosting out the top when you press.
Fold the cuff of the bag down over your hand before you start. This keeps the inside clean and gives you a dry grip at the top.
Once the bag is loaded, lay it flat and push the frosting toward the tip to force out any air pockets.
Twist the open end closed, and if you have a rubber band or an icing bag tie, use it to lock the twist in place.
A half-filled large bag handles more easily than a stuffed smaller one, so if you are working through a big bowl of buttercream, refill more often rather than overloading once.
Frosting Ingredients
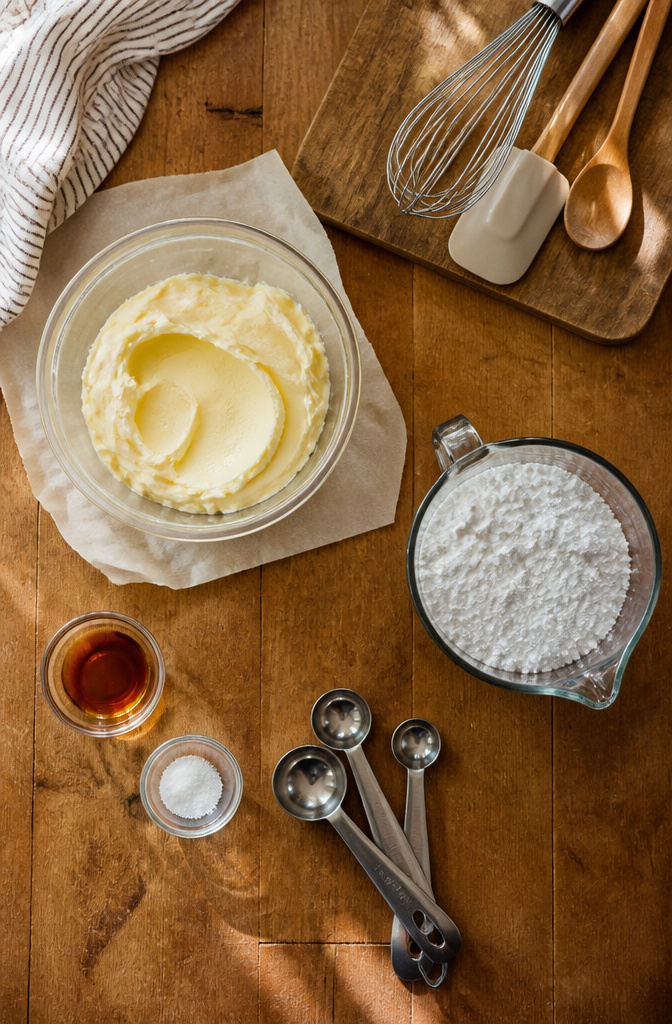
The buttercream base below will cover 24 cupcakes with a generous dome and leave enough in the bowl for you to practice your pressure before you commit to the cake.
- 1 cup (2 sticks) unsalted butter, softened to the point that your finger leaves a clean dent, not melted at the edges
- 4 cups powdered sugar, sifted if yours is lumpy from the box; the extra 30 seconds saves you from clogging small tips later
- 2 tablespoons heavy cream or whole milk, added last so you control whether the batch stays stiff or loosens up
- 1 teaspoon vanilla extract, or half that if you want the color closer to true white
- 1/4 teaspoon fine salt, which you will not taste but will notice if you skip it; the sweetness flattens without it
Beat the butter alone first, a full 2 minutes, before any sugar goes in. Pale and fluffy is the texture you are after, not just mixed.
Add the sugar in two batches, cream in between, and expect to scrape the bowl twice.
The finished buttercream should hold a peak that bends slightly at the tip; if it stands straight and cracks when you stir, add cream by the teaspoon until it cooperates.
The Swirl Method
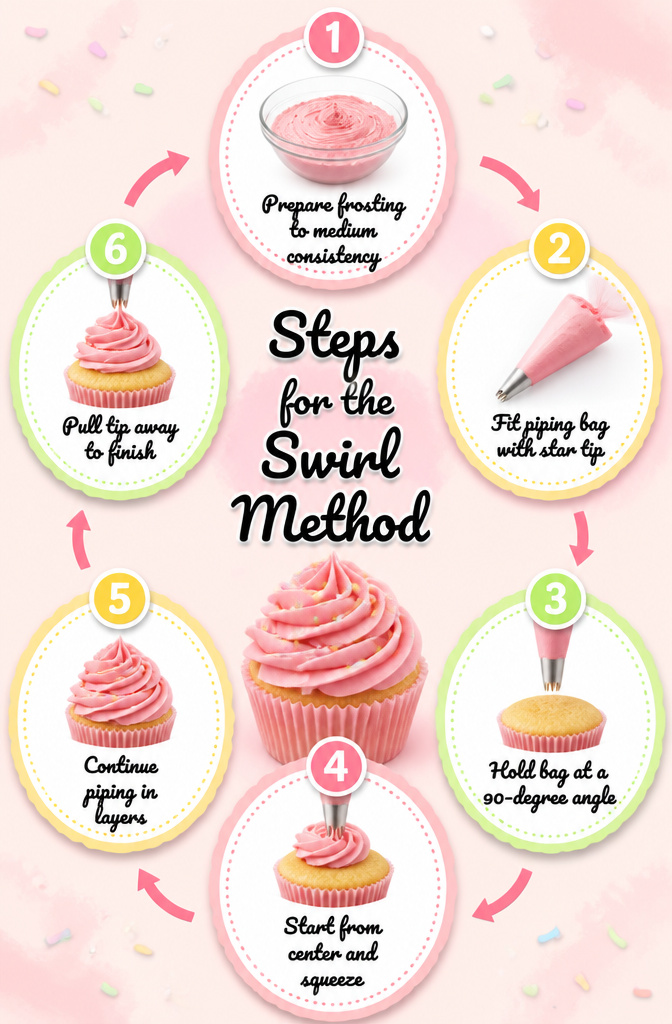
The swirl is the shape most people picture when they think of a frosted cupcake, and it is simpler than it looks once the bag is in your hand.
- Prepare frosting to medium consistency. If you are starting with a stiff buttercream, add about 1 teaspoon of liquid per cup of frosting and work up slowly. Medium consistency holds the ridges without tearing or sagging.
- Fit your piping bag with a large open star tip (Wilton 1M), a closed star (Wilton 2D), or a large round (2A), and fill the bag two-thirds full. A bag packed fuller than that becomes hard to squeeze evenly.
- Hold the bag straight up at a 90-degree angle, with the tip about half an inch above the cupcake surface. This height leaves room for the frosting to fall into place without smearing.
- Start from the center, squeeze firmly to pipe a small star or dot, then move outward in a tight circle without releasing pressure. Cover the top of the cupcake completely in that first rotation.
- Continue piping in layers to build height. After the first circle, move the tip slightly inward and upward, spiraling toward the center. Most swirls need three full circles plus a smaller fourth on top to look finished.
- Pull the tip away while stopping pressure to finish. Stopping the squeeze before you lift keeps the tail from dragging across the swirl you just built.
Wilton 1M Open Star
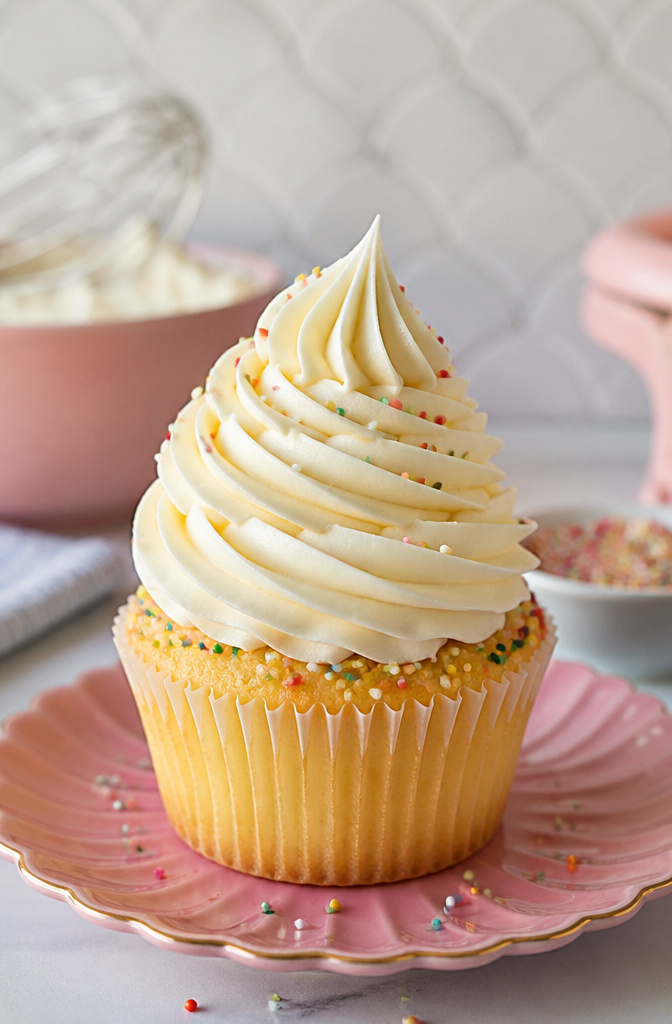
The Wilton 1M open star tip is the one you want if you are buying just one.
Its teeth run straight and deep, not curved inward like a closed star, so the ridges it presses into frosting stand sharp and clean.
That geometry gives you the classic soft-serve swirl, the tall rosette, or a flatter spiral depending on how high you hold the bag and how many rotations you build.
Most buttercreams cooperate with it, including the stiffer cream cheese frostings that softer tips can smudge. Swiss meringue buttercream also holds those ridges well.
Hold the tip about half an inch above the cupcake, start at the center with a firm squeeze, and circle outward without releasing pressure.
For height, spiral inward and upward for a second rotation, then stop squeezing before you pull away.
From above, the finished cupcake shows a clear star center and ridged, fluffy walls that read as deliberate rather than messy.
The 1M is slightly narrower than the Ateco 849, so the swirl sits tighter, but the look is similar enough that either will get you there.
Ateco 849 Wide Closed Star
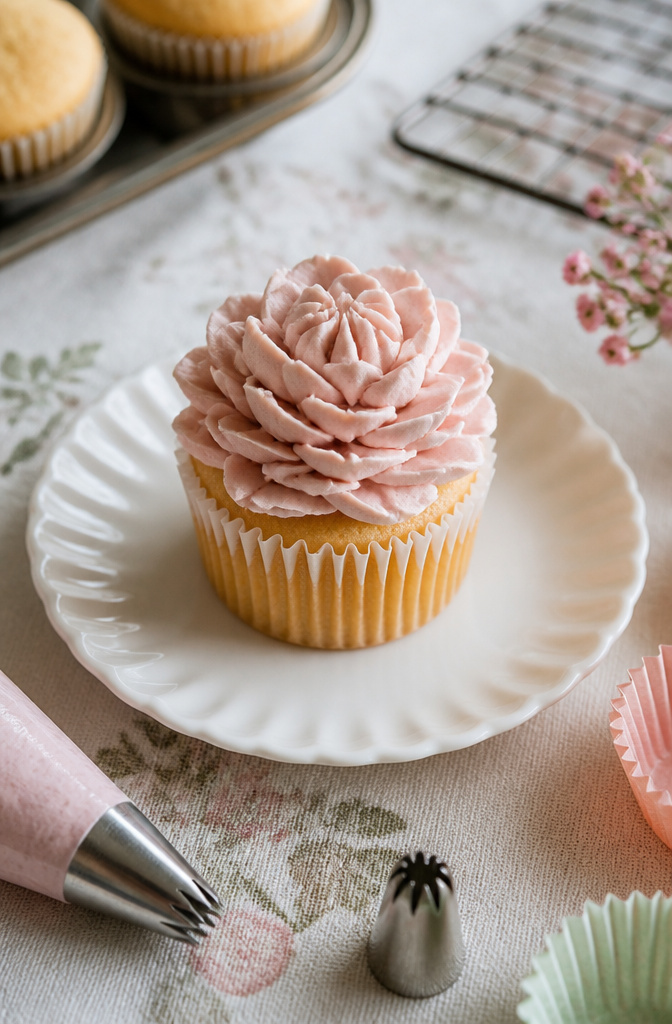
The Ateco 849 is a wide closed star tip built for roses and full swirls that need more body than the Wilton 1M gives you.
Its extra width and closed shape pack frosting into denser petals with less negative space between them, so the finished flower looks heavier and more layered, almost plush.
You still start from the center and spiral outward, but the tighter star walls mean each ridge sits closer to the next, filling in the gaps that an open star leaves behind.
That density changes when you would reach for this tip instead of the 1M. The 1M’s open star is the better choice for soft-serve swirls and two-toned roses where you want light, separate ridges and some air showing through.
Pick the 849 when you want a single-color rose that reads as solid, or when your swirl needs to dominate a larger cupcake top without looking sparse.
The ruffled look works here too: press the tip into the center, push frosting out, and lift straight up for a frill that holds its shape because the closed star walls support the frosting as it exits.
Wilton 2D Closed Star
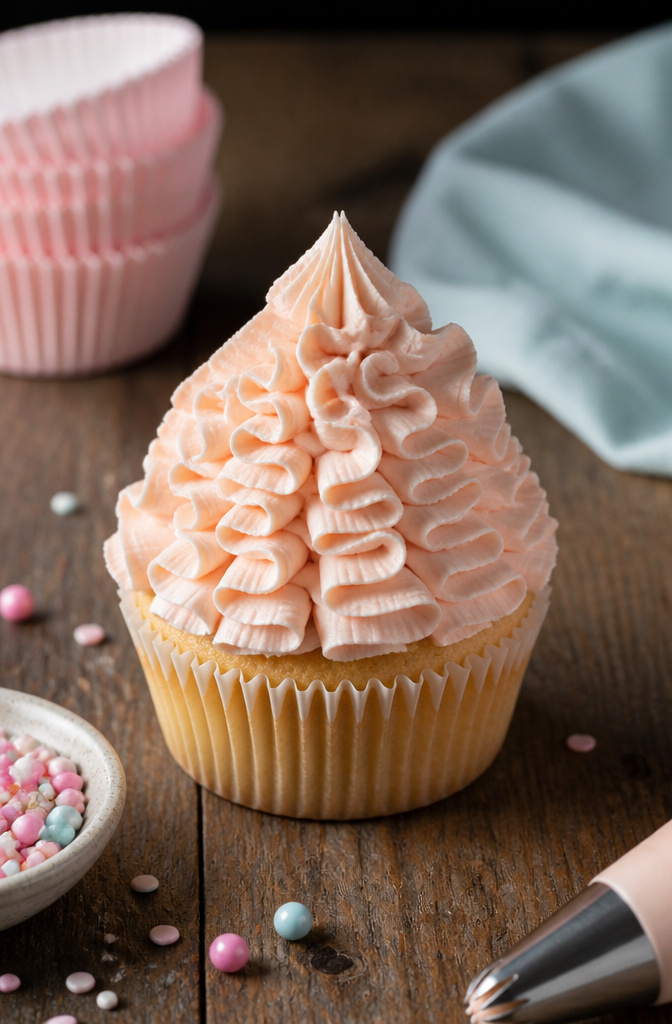
The Wilton 2D is a closed star tip with finer teeth that curve inward, which gives it a tighter, more deeply grooved opening than an open star.
That inward curve is what builds the fabric-like ruffle instead of a loose bakery swirl.
To get the ruffle, you need heavier pressure on the bag than you would expect. The small teeth force the buttercream to pleat as it exits, and the extra push makes those pleats stack into a ridged, almost ribboned column.
Light pressure still works, but it reads as a formal rosette rather than a ruffled texture.
Hold the bag at roughly a 45-degree angle and pipe back and forth across the cupcake top, letting the pressure taper off at the edge so the ruffle finishes clean.
Skip this tip if your frosting has cookie crumbs or any solid mix-in. The fine teeth clog fast, and you will spend more time clearing the opening than piping.
This look suits occasions where you want something dressed up without looking overdone. Baby showers, bridal teas, or any spread where the cupcakes sit on a tiered stand and need to read as intentional rather than casual.
Ateco 808 Large Round
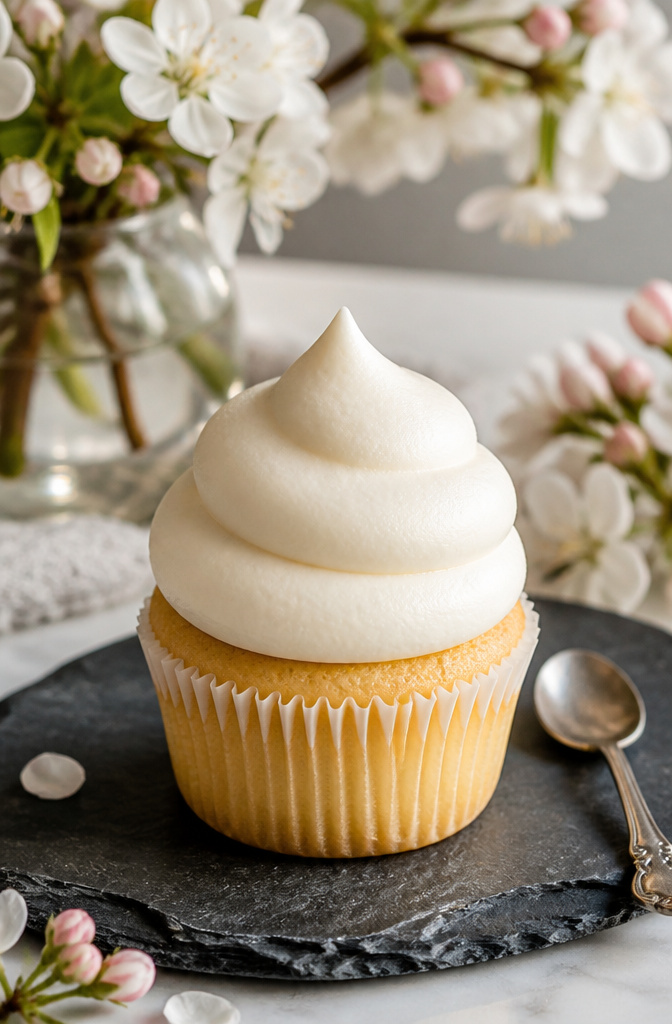
The Ateco 808 is a large round tip with a 5/8 inch opening, and it produces a swirl that looks like a big fluffy cloud.
Unlike star tips that carve ridges into the frosting as it exits, the plain round opening forces you to build height through layering.
You start in the center and spiral upward, stacking smooth rings on top of each other until the dome forms.
That smooth exit means no texture is gifted to you. The visual interest comes entirely from the shape you build, which gives the finished cupcake a modern, minimalist look.
The surface stays soft and uninterrupted, almost like piped whipped cream rather than decorated frosting.
The wide opening also makes this tip practical for frostings with chunkier mix-ins. Fruit preserves, coconut, or Oreo crumbs pass through without clogging, which star tips with their narrow points often cannot manage.
You will find the Ateco 808 in most craft and baking stores, or online, where open round tips come in sizes ranging from large to small.
Ateco 826 Open Star
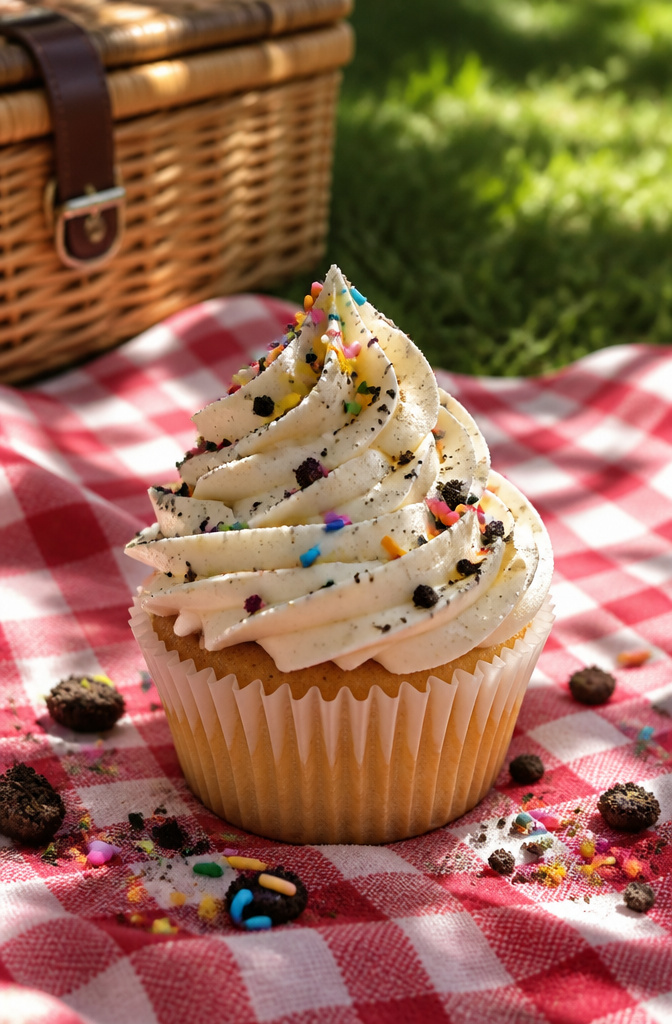
The Ateco 826 is an open-star tip with wider teeth than the Wilton 1M, and that gap makes the difference when your buttercream has texture. Cookie crumbs, sprinkles, or other small mix-ins pass straight through instead of jamming in finer openings.
You get a rougher, more rugged swirl than the tight ridges of a closed star, something closer to soft-serve ice cream than bakery glass.
Precision takes more care with this one. Where a French star tip like the Ateco 869 lays down elegant, closely grooved ribbons, the 826’s wider teeth break the surface into chunkier ridges.
That rougher finish hides imperfections well, but it also means this tip is not your choice for smooth, refined work.
Keep the 869 for plain buttercream where you want clean definition, and reach for the 826 when the frosting itself has something to say.
Ateco 869 French Star
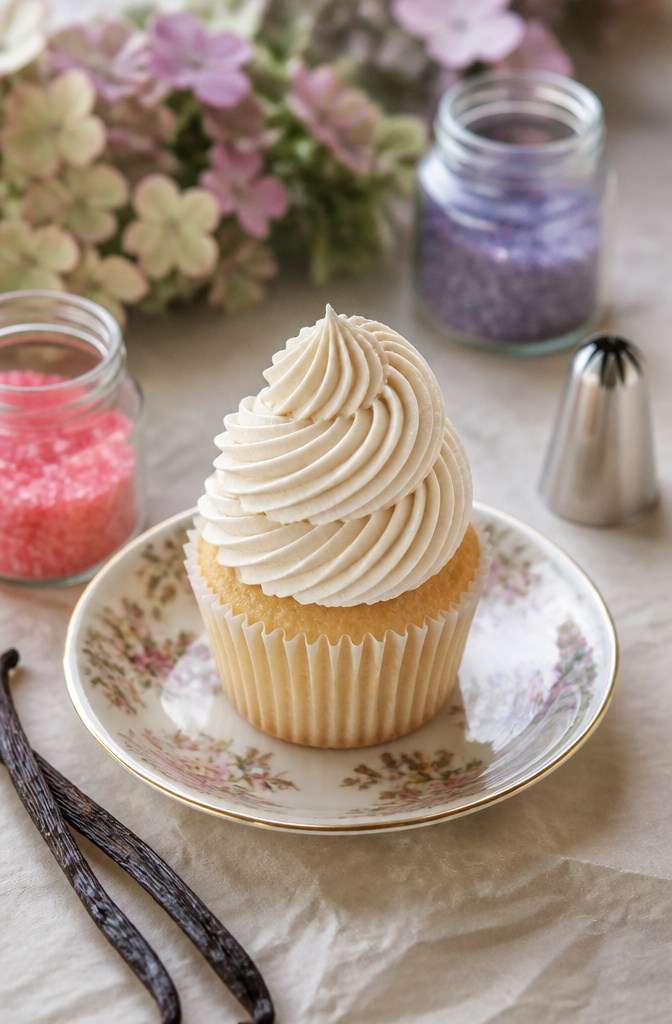
The Ateco 869 is a French star tip, which means its teeth are very small and fine, and they do not curve to the center of the opening.
That deeper cut and the higher tooth count produce ridged swirls that look like they came from a pastry shop, even though the motion is the same simple swirl you already know.
The opening is relatively large, so it pushes out more frosting than you might expect. Plan for that, or you will run short halfway through the batch.
The close teeth also clog easily if your buttercream has any texture, cookie crumbs, or even larger flecks of vanilla bean. Stick with a smooth buttercream here, or you will be stopping every other cupcake to clear the tip.
You can vary the finished look just by changing how you swirl or how you angle the tip, so one tip still gives you several styles without switching bags.
Wilton 12 Small Round
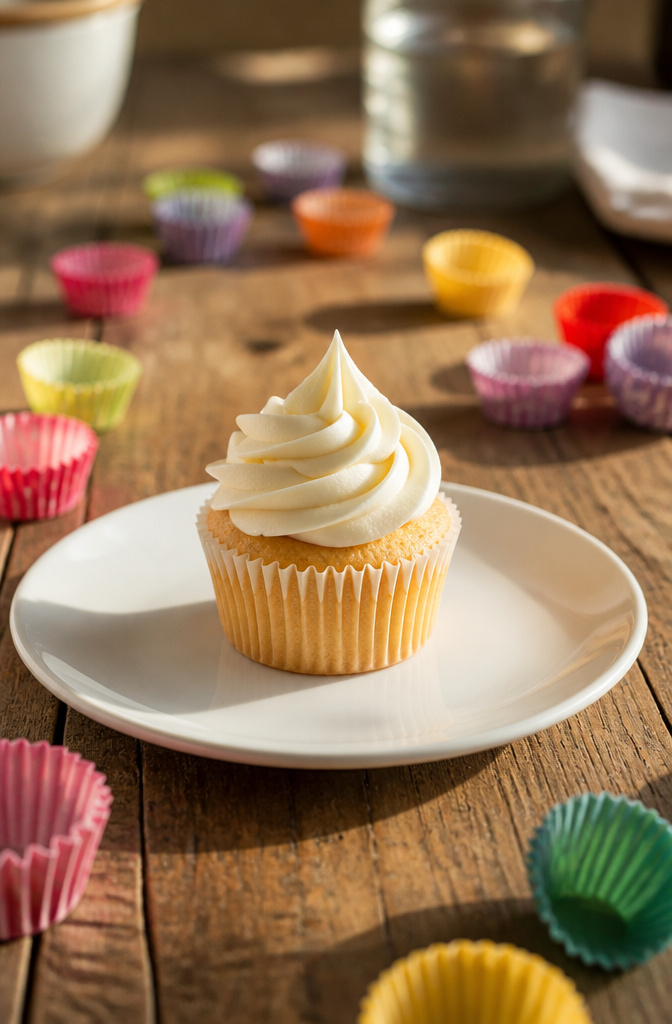
The Wilton 12 small round tip is the one you reach for when your frosting is too thin to hold a shape through a larger opening.
Cream cheese frosting, whipped cream, and anything glaze-like will droop or lose definition through a wide tip. The 12 keeps the stream narrow and controlled.
You press the tip into the center of the cupcake, squeeze while lifting straight up, and stop. The result is a neat, even mound or a simple dot that stays where you put it.
No ridges, no swirls, no edges to catch and wobble.
This is also the tip to use for mini cupcakes if you want a scaled-down swirl that doesn’t overwhelm the cake.
The opening is small enough that even a softer medium-consistency buttercream keeps its shape rather than spreading into a puddle.
For anything looser than that, the 12 gives you precision over volume: you decide how much lands on the cake, not gravity.
Wilton 1A Simple Round
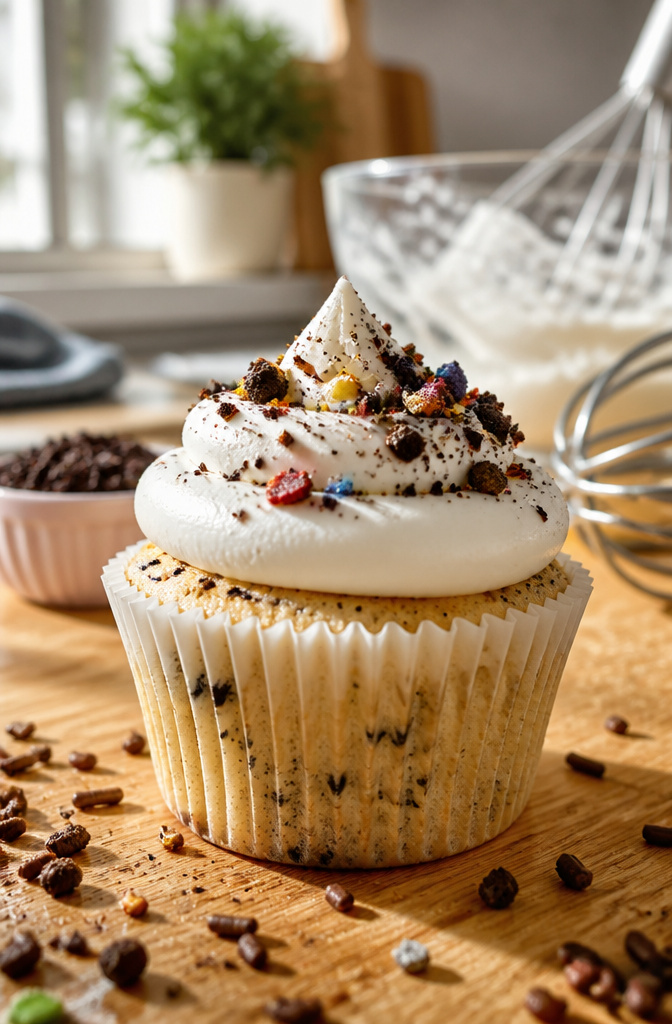
The Wilton 1A is a simple large round tip, and that simplicity is exactly why it earns a spot in a home kitchen. It pipes a clean, plain circle of frosting, which reads as handmade rather than bakery-case perfect.
That look works when you want the cupcake to feel like someone in your house made it, not like it rolled off a production line.
You reach for this tip when the topping does the heavy lifting.
A dollop of frosting piped with the 1A becomes the bed for sprinkles, crushed cookies, or fruit preserves that would clog a star tip or fight a closed design.
The frosting stays out of the way and lets the texture or color on top read first.
The opening is large enough to handle chunkier frostings without jamming, though you will still need to watch for wide mix-ins.
It is the same basic shape as the Ateco 808, another open round tip, but the Wilton 1A sits in that sweet spot of size and availability; most craft stores stock it, and it crosses over to filling mini cheesecake pans or piping eclairs if you bake beyond cupcakes.
One tip, several jobs, no specialty order required.
Designs by Technique
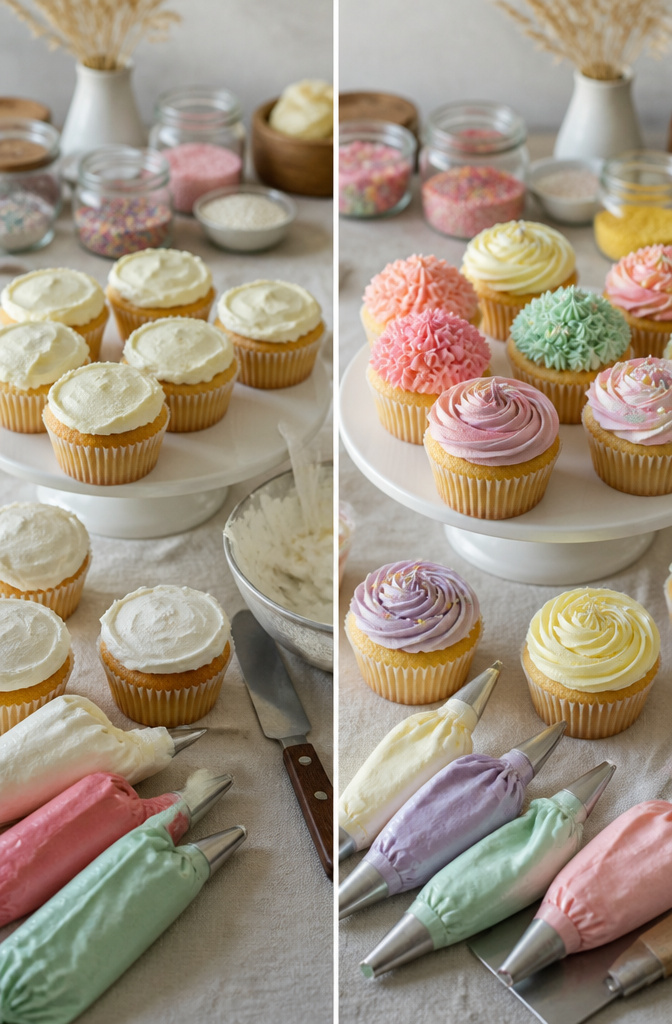
You can get three distinct looks from a single open star tip just by changing where you start and how you move.
Start at the center and pipe outward for a rosette: hold the bag perpendicular, apply steady pressure, and spiral toward the edge while you taper pressure so the frosting thins to a clean finish.
That same tip, same angle, but starting at the edge and circling inward and upward, builds a tall soft-serve swirl.
The closed star versions, like the Wilton 2D or Ateco 849, work the same way; the ridges just come out more defined.
Speed and pressure control what happens next. Move too fast and the loops gap or the frosting slumps before it sets.
Too slow and you pile too much in one spot, so the shape bulges or the tip drags through what you already laid down.
Consistent pressure matters more than speed alone: light pressure at the start anchors the swirl, then even pressure through the body keeps the height uniform.
If you want ruffles instead of a smooth spiral, pulse the pressure slightly as you circle, letting each wave build on the last. The hardware never changes.
The difference is whether you begin in the middle or at the rim, and whether your hand keeps the same steady beat or varies it on purpose.
Yield, Storage, and Substitutions
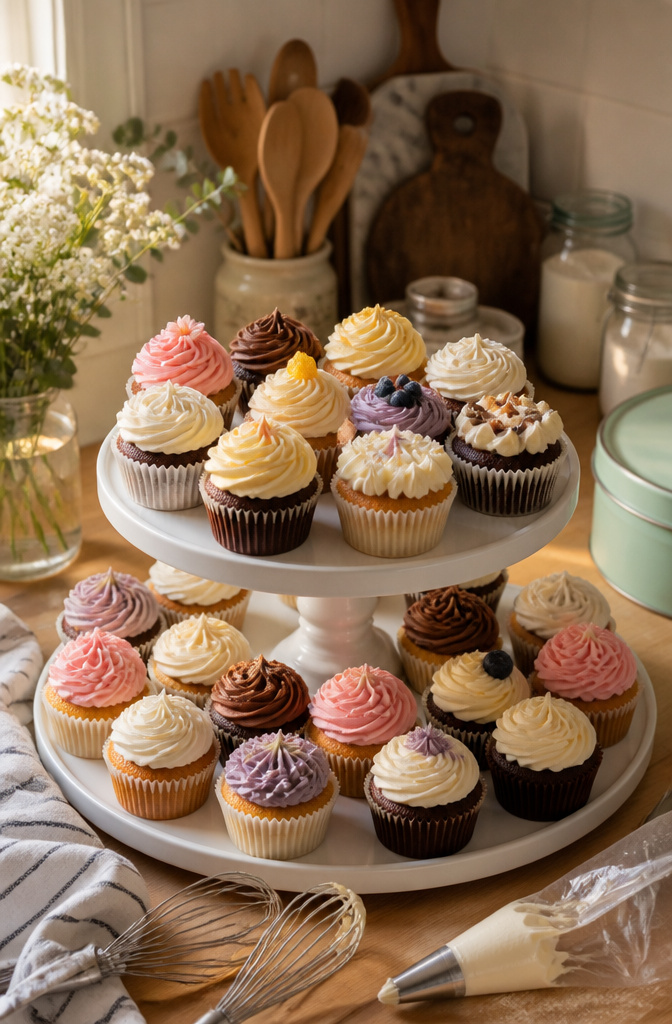
One batch of frosting covers 24 cupcakes with enough left over to practice your piping on a scrap of parchment before you start the real ones.
That spare bowl matters more than it sounds; your first three rosettes are rarely your best, and you would rather eat those test swirls than serve them.
Storage depends on what you made. A basic American buttercream sits fine at room temperature for two days, or you can refrigerate it for five.
Cream cheese frosting and whipped cream frosting go straight to the fridge every time, no exceptions, because the dairy in them turns fast at room temperature.
If you refrigerate any frosting, let it come back to room temperature before you pipe, or it will fight the bag and crack on the cupcake.
For a dairy-free version, swap in vegan butter and whatever plant milk you keep around.
The texture pipes almost the same, but vegan butter is often softer straight from the fridge, so you may need ten extra minutes of chilling time to get the ridges to hold their shape.
Some brands pipe cleaner than others, so if your first squeeze looks greasy, chill the bowl five minutes and test again.
Frequently Asked Questions
What are the best piping tips for frosting cupcakes?
The Wilton 1M open star is the one to buy if you are choosing just one. The Ateco 849 wide closed star builds denser, more layered swirls, while the Wilton 2D closed star creates fine ruffled textures.
The Ateco 808 large round gives a smooth, modern dome, and the Wilton 12 small round handles softer frostings that would droop through wider openings.
How do I achieve the right frosting consistency for piping?
Start with a basic buttercream and thin it a teaspoon at a time with water, milk, or light corn syrup.
The ceiling is two tablespoons of liquid, and only if you are working with a pure white base that starts stiffer than usual.
The test is dragging a spoon through the bowl: the frosting should hold the trough for a second, then slowly relax back into itself.
What techniques can I use to decorate cupcakes?
The classic swirl starts at the center and spirals outward, then inward and upward for height. A rosette uses the same motion but tapers pressure at the edge for a clean finish.
For ruffles, pulse the pressure slightly as you circle with a closed star tip. Changing your starting point and pressure pattern gives you distinct looks from the same tip.
How to do the perfect icing on cupcakes?
Hold the bag at a 90-degree angle about half an inch above the cupcake surface. Start from the center with firm pressure, circle outward to cover the top, then spiral inward and upward to build height.
Most swirls need three full circles plus a smaller fourth on top. Stop squeezing before you pull the tip away to avoid dragging a tail across your work.
What frosting is best for cupcakes?
American buttercream is the standard choice: one cup of softened unsalted butter, four cups of powdered sugar, two tablespoons of heavy cream or whole milk, one teaspoon of vanilla, and a quarter teaspoon of fine salt.
Beat the butter alone for two full minutes until pale and fluffy before adding any sugar. The finished buttercream should hold a peak that bends slightly at the tip.
Should I chill cupcakes before frosting?
If you refrigerate any frosting, let it come back to room temperature before you pipe, or it will fight the bag and crack on the cupcake.
Vegan butter versions may need ten extra minutes of chilling time to get ridges to hold their shape.
What are some icing hacks for cupcakes?
Fold the cuff of the piping bag down over your hand before filling to keep the inside clean and give you a dry grip. Push frosting toward the tip while the bag is flat to force out air pockets.
A half-filled large bag handles more easily than a stuffed smaller one, so refill more often rather than overloading once. Practice on parchment with your leftover frosting before you commit to the cupcakes.