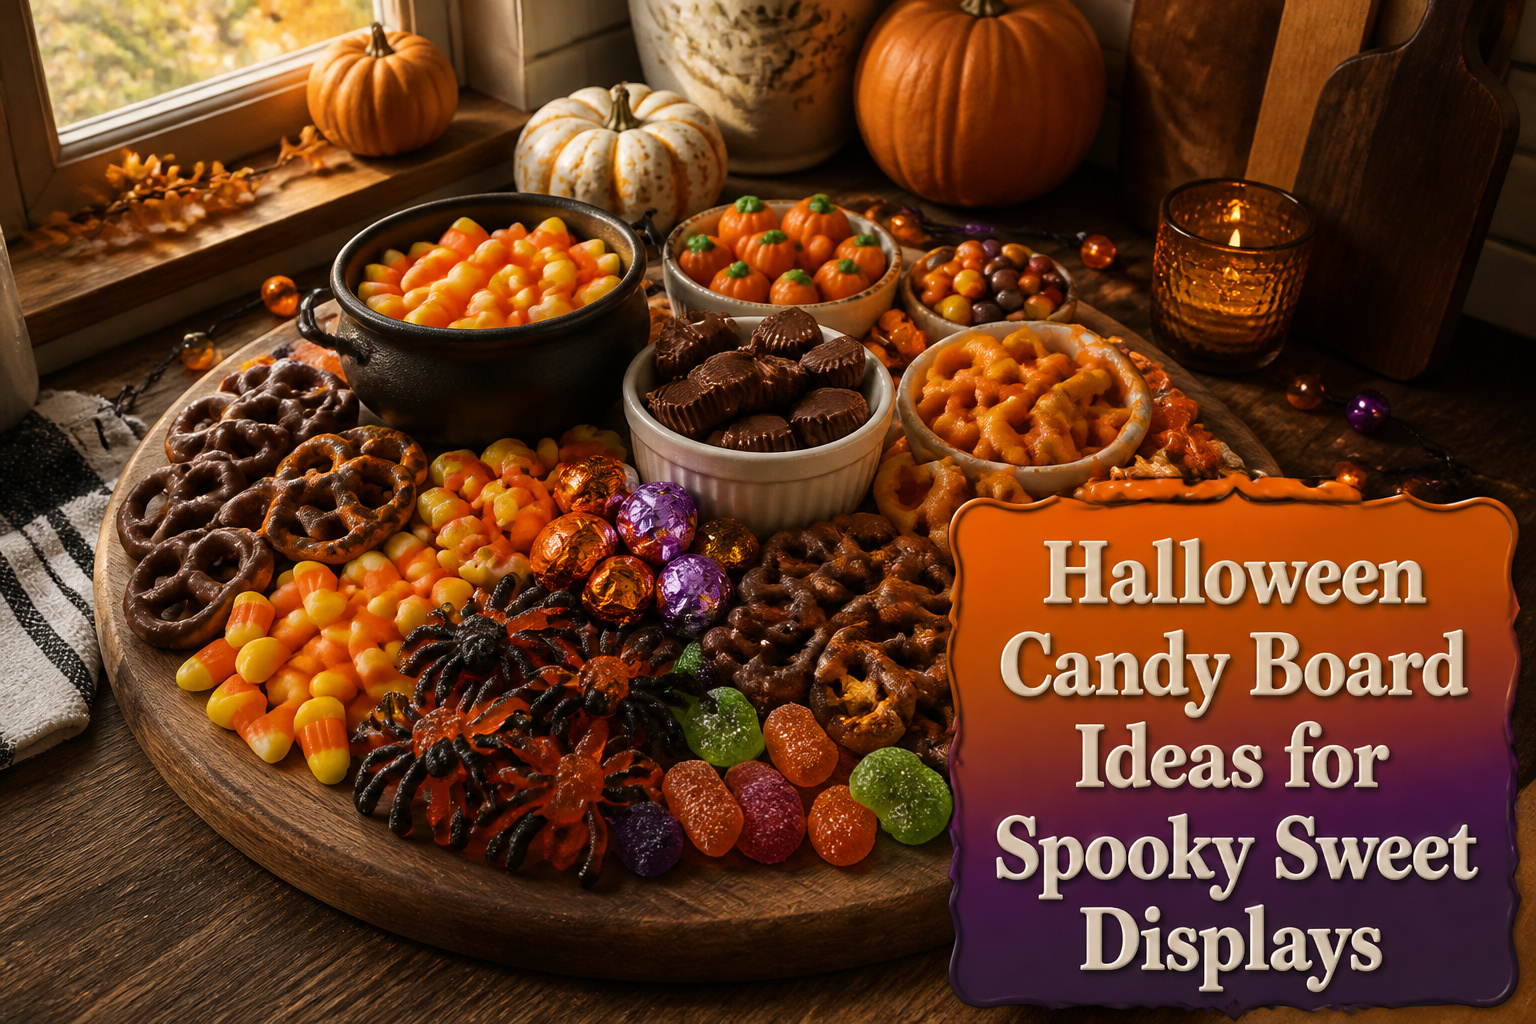
A Halloween candy board can run from a 20-minute dump-and-scatter to a full afternoon of piping ghost frosting onto homemade brownies.
The deciding factor is whether you need the board to survive two hours of grazing or just long enough for a photo before the party starts.
Start with an 18-inch surface and bowls of candy corn at different heights; everything else builds around those anchor points.
1. Candy Corn
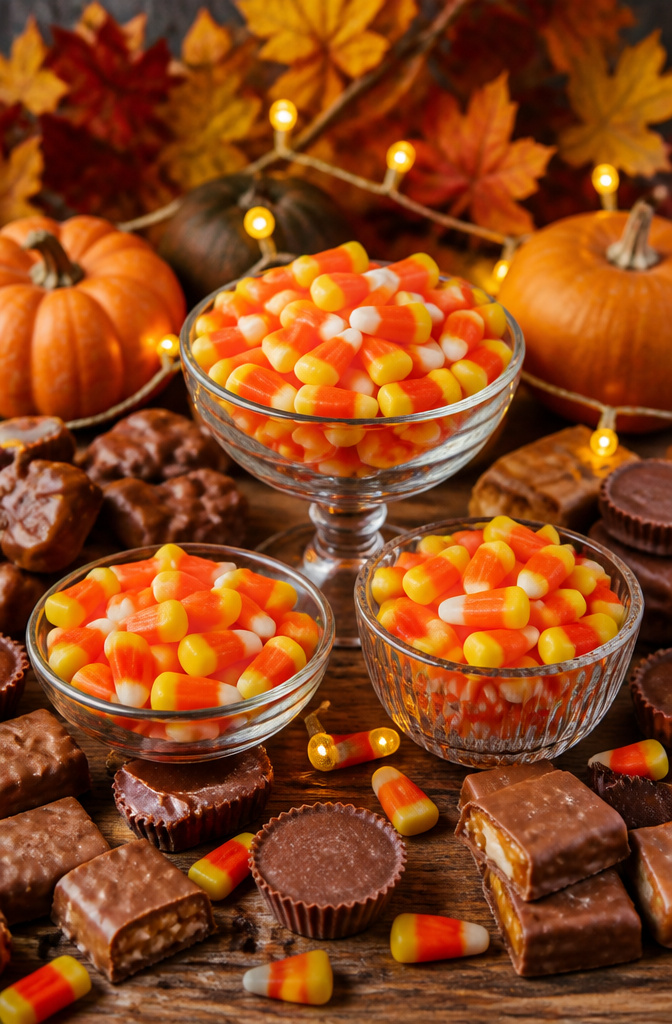
Brach’s Halloween Classic Candy Corn Bag is the move you make first, because the whole board clocks in at about 20 minutes total and this sets the pace.
Dump a bag into two or three small bowls of different heights, one piled deeper than the others.
The pale orange and yellow wedges catch light differently when some sit low and others mound up like a soft peak, so you get depth without trying.
Candy corn fills gaps that larger items leave behind. Once your bowls are set, scatter loose pieces into the narrow channels between bigger treats.
A few will land on their sides, a few flat, and that variation reads as abundance rather than clutter.
Sources disagree on whether guests actually eat it; one board builder admits to hating the taste but keeps it anyway for the color hit. You can take that deal or leave it, but either way the visual logic holds.
The candy is cheap, it is everywhere in October, and it does not melt into a board if the party runs long.
Place it before anything fragile or chocolate, since the bowls anchor the layout and the scattered pieces build the map of where everything else goes.
2. Halloween Oreos
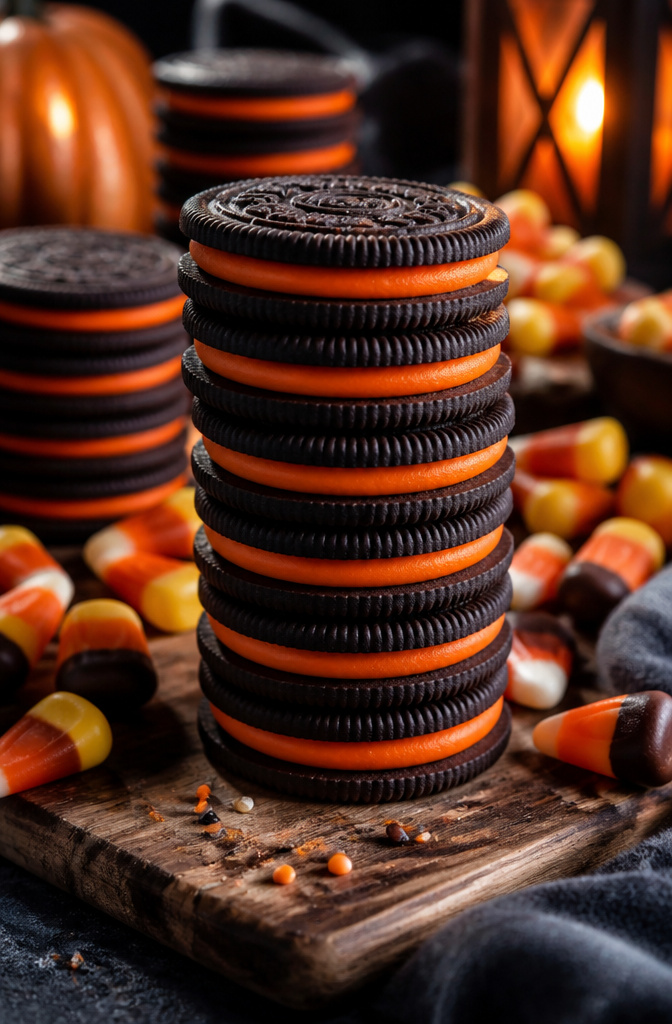
Orange-creme filled Oreos arrive in five source-backed varieties, enough to find one that fits your board’s look without hunting specialty stores.
The stacked Oreo is the move here: line them two or three high so the orange filling faces out and reads as a solid block of color from across the room.
Set these stacks right after you place the candy corn. The corn gives you a low, scattered base layer, and the Oreos build vertical structure against it.
Fan them around a small bowl if you’re using one, or run them along the board’s edge in a neat row. Either way, the height difference between corn and cookie creates actual architecture, not just a pile of sweets.
Keep the stacks tight; loose ones lean and gap, and a gap in an Oreo wall is the first thing your eye hits.
3. Gummy Candies
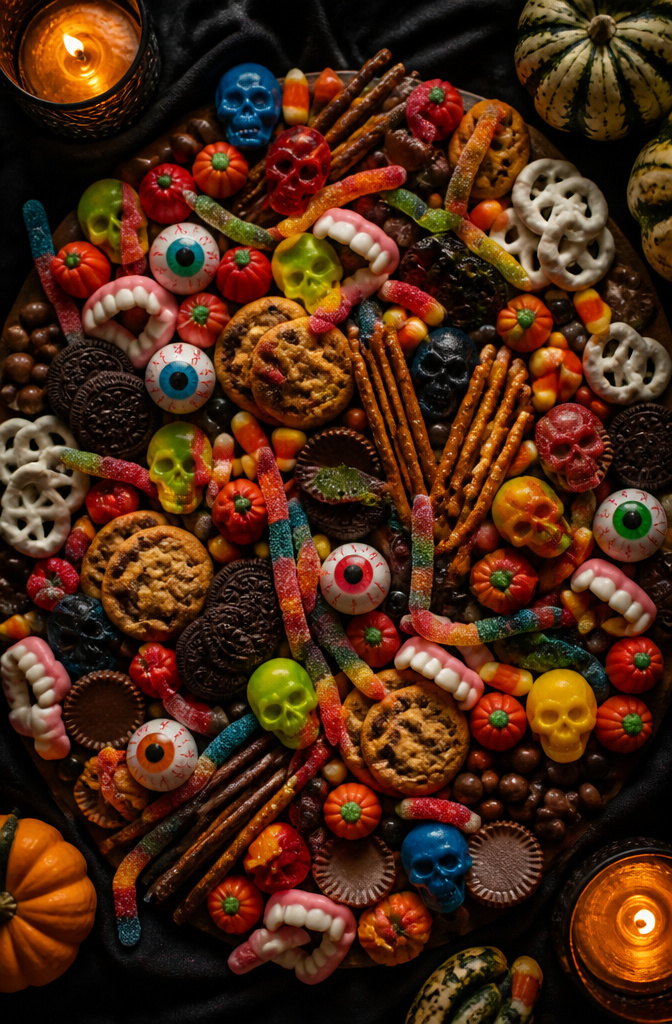
Gummy worms, skulls, and fangs earn their spot on a Halloween candy board because their irregular shapes do the work of filling negative space that rounder candies leave behind.
You will notice this most after you have placed the larger items: the worms curl into the gaps between cookies and pretzel sticks, while skulls and fangs sit flat where nothing else would stay put.
Gummy eyeballs deserve their own mention. They are smaller than most showpiece items but stranger in effect, and they read as decoration even when they are meant to be eaten.
Scatter them last, after the bowls and the bigger shapes are down, so they do not get buried.
The risk with gummies is moisture. They will soften and flatten against anything warm or humid, so if your board includes fresh elements like clementines, keep the gummies on a separate tier or plate them just before serving.
4. Chocolate Treats
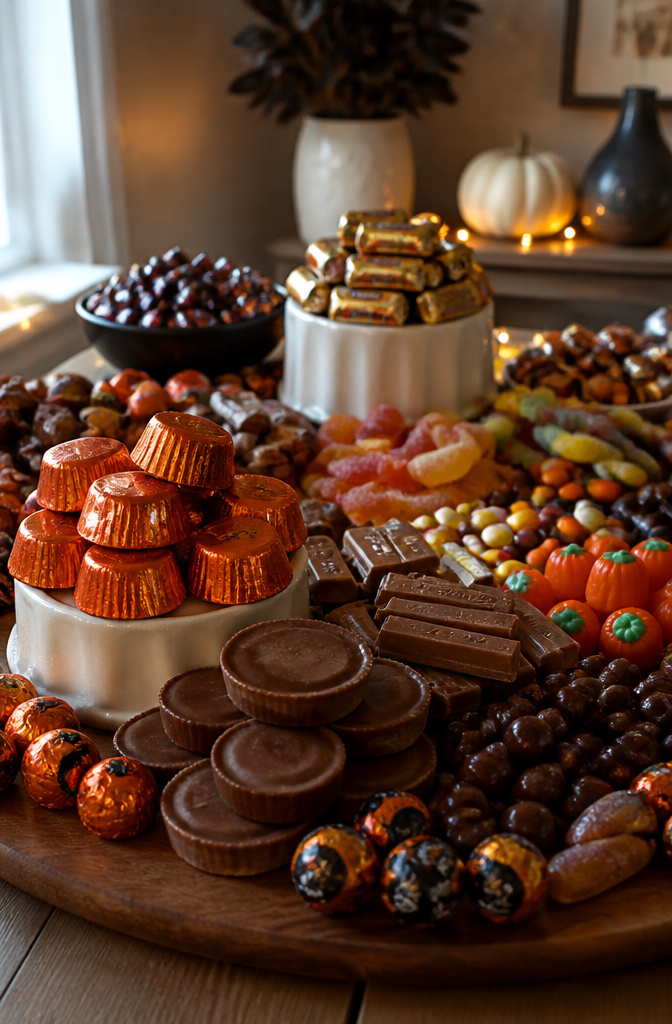
Chocolate bars anchor a Halloween candy board with color and weight, but they also sink.
Reese’s Peanut Butter Cups, Twix, and KitKat all carry enough heft to flatten softer items around them, so you need a plan before you set them down.
Leave them wrapped for cleaner handling and sharper visual texture. The foil and paper packaging catches light differently than bare chocolate, and the orange and black Reese’s sleeves read Halloween without any extra work.
Unwrapped squares of broken KitKat or Twix segments work too, but they go sticky fast and blend into a brown smear from a few feet away.
Because these are your heaviest pieces, they need raised placement. Nest a few on an overturned ramekin, a small bowl, or a stack of mini pumpkins so they sit above the board’s surface.
Lower them flat and they visually drag the whole arrangement down, plus they crush anything underneath. Angle the wrappers slightly toward where guests will stand; the branding does the decorative work for you.
5. Popcorn
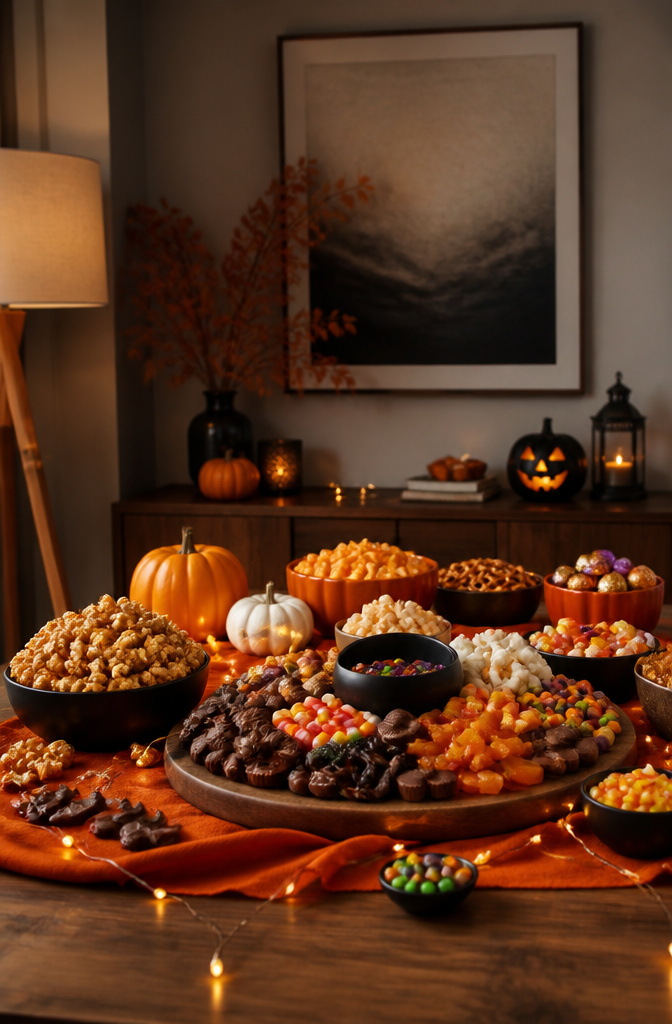
Popcorn is the cheapest way to add real volume to a Halloween candy board. A bowl of caramel popcorn fills a dead zone faster than another $4 bag of chocolate, and the color reads instantly as seasonal without needing any wrapper.
Candy corn-flavored popcorn works the same trick. Trader Joe’s carries it seasonally, and the pale orange and yellow kernels give you something bright to set against dark chocolate and black licorice.
Scatter it loose around a central bowl, or pile it high in a separate dish to anchor one corner of the board.
For a more involved option, monster popcorn balls do the same job with more personality. Make them at home with buttered popcorn, melted marshmallows, and green food coloring, then shape into rough spheres and set on wax paper until firm.
Store-bought caramel popcorn works as the base just fine; skip the stovetop unless you want the extra work. Either way, the balls become a focal point that justifies the empty space around them rather than fighting it.
6. Pretzels
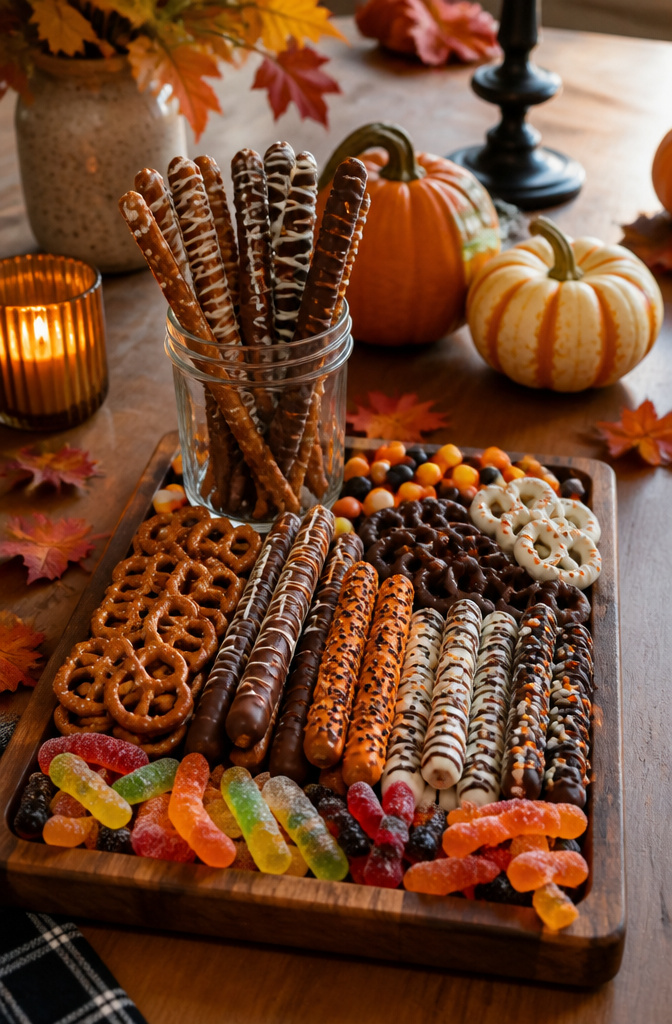
Chocolate-covered pretzels and plain rods both belong on a Halloween candy board for the same reason: they break up all that sugar with salt. The contrast keeps you reaching back in, which is what a display like this is for.
Use rods standing upright or laid across the board in lines; they give the eye somewhere to rest and keep the arrangement from looking like a pile.
Regular pretzels carry more salt per bite, so they pair better with your darkest chocolates.
The coated ones, with their shell of milk or white chocolate, read as candy first and need the plain rods nearby so the board does not turn one-note.
Texture matters more than people expect. Five separate sources on building candy boards name pretzels as the essential textural break, the thing that keeps soft gummies and creamy chocolates from blurring together into indistinguishable sweetness.
You notice it after ten minutes of picking, when your fingers still want to move but your palate needs a reset.
Rods also solve a structural problem. Lay them in a loose grid and they create natural sections, so the board stays organized even after guests have been at it for an hour.
Thicker rods stand better; thin ones work if you cluster them in a jar or small bowl set into the arrangement.
7. Mini Cupcakes or Brownie Bites
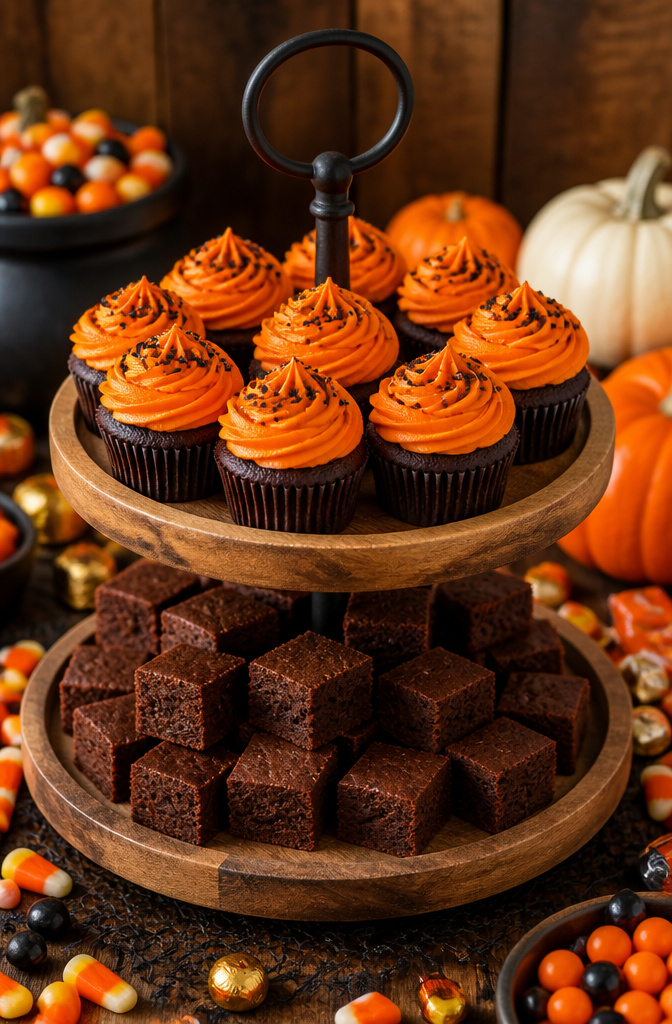
Mini cupcakes and brownie bites are the most prep-heavy item on a Halloween candy board, and the choice between bakery and homemade matters more than you might think.
Bakery versions save time but rarely come in true Halloween colors, so you are stuck with plain chocolate or vanilla unless you add your own orange and black sprinkles at home.
Baking from scratch lets you tint frosting with gel dye and pipe small ghosts or spiders, though you will spend an extra hour and fill the sink with piping bags.
Either way, these pieces earn their spot by building height at the board’s corners, lifting the eye up so the display does not read as flat.
Tuck them on stable surfaces only, a solid cake stand or a directly placed board section, not a rickety tier or a spot where guests will bump elbows reaching past.
They crush under almost any weight, and a smeared frosting print on a neighboring candy wrapper ruins the tidy look you set up.
8. Halloween-themed Sprinkles
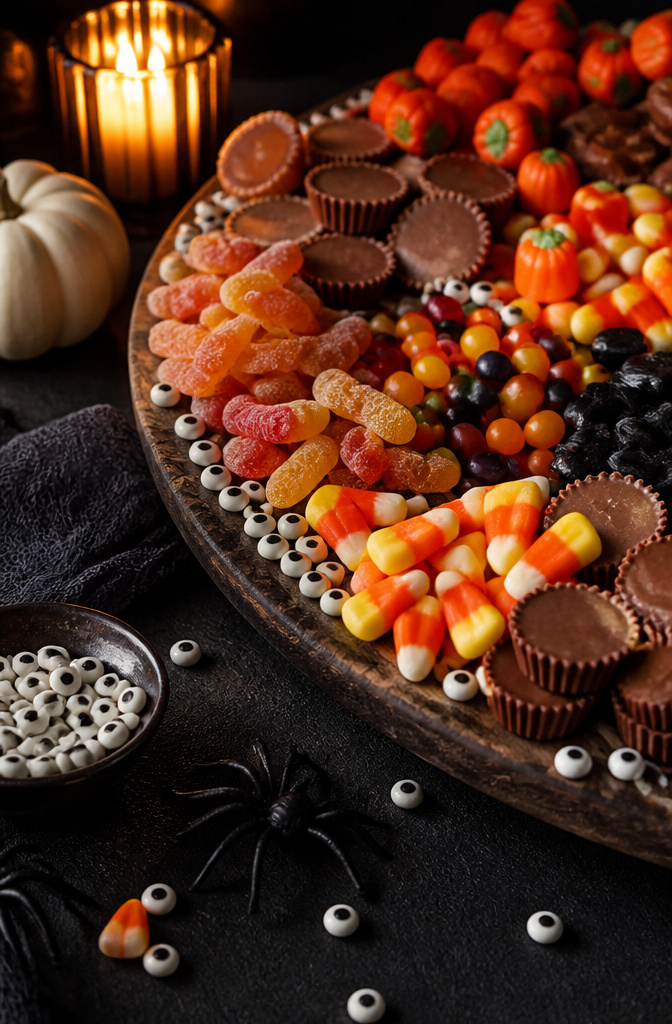
Wilton Edible Black and White Candy Eyeball Sprinkles do the work of turning a regular candy board into something that watches you back.
Scatter them loose into the gaps between larger items instead of piling them in a bowl where they disappear. Pressed lightly into peanut butter or white chocolate, they anchor well enough to survive a room full of kids.
You will find them at Walmart, craft stores, and most baking aisles around late September.
They are decoration first, not primary eating candy, so treat them like parsley on a plate: a little goes the whole distance, and too many reads as filler.
Three to five eyeballs visible from any angle is about the right density; beyond that, the board starts to look like a biology project.
If you are making spider cookies or ghost faces, these save you from hand-piping dots.
The rest of the time, let them stare up from between Twix bars and candy corn, filling the spaces that would otherwise read as empty board.
9. Edible Decorations
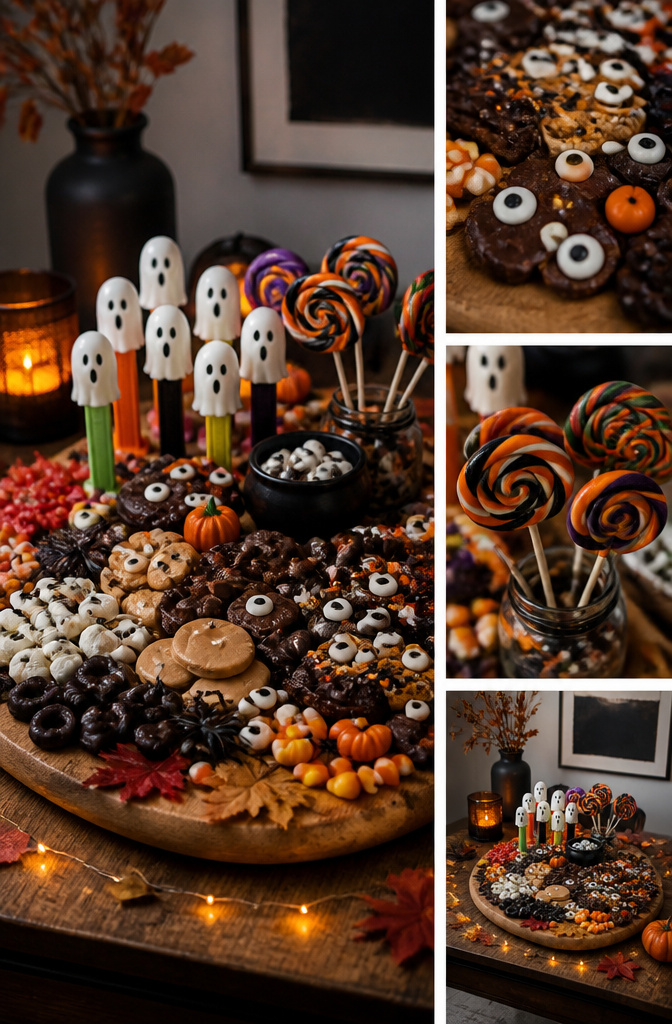
Candy eyes are the detail that makes a Halloween candy board feel finished rather than just piled.
You will find them in two sizes at most grocery stores now, and the small ones work on cookies or mini brownies while the large ones sit well on full-size treats.
Themed toppers like ghost PEZ dispensers or Halloween lollipops do the same job of giving the board a focal point someone can spot from across the room.
GHIRARDELLI White Vanilla Flavored Melting Wafers are what you use to attach any of it. Melt a small amount, dip the flat back of a candy eye or the base of a topper, and press it where you want it.
The wafers set fast and hold better than icing, which can slide if your board sits out for more than an hour.
This step comes last, after every cookie and candy is already in place.
Move the completed board to where you will serve it before you start attaching anything, because one knocked-off spider leg or floating eye is the kind of mistake you only notice in a photo afterward.
Board Size and Build Order
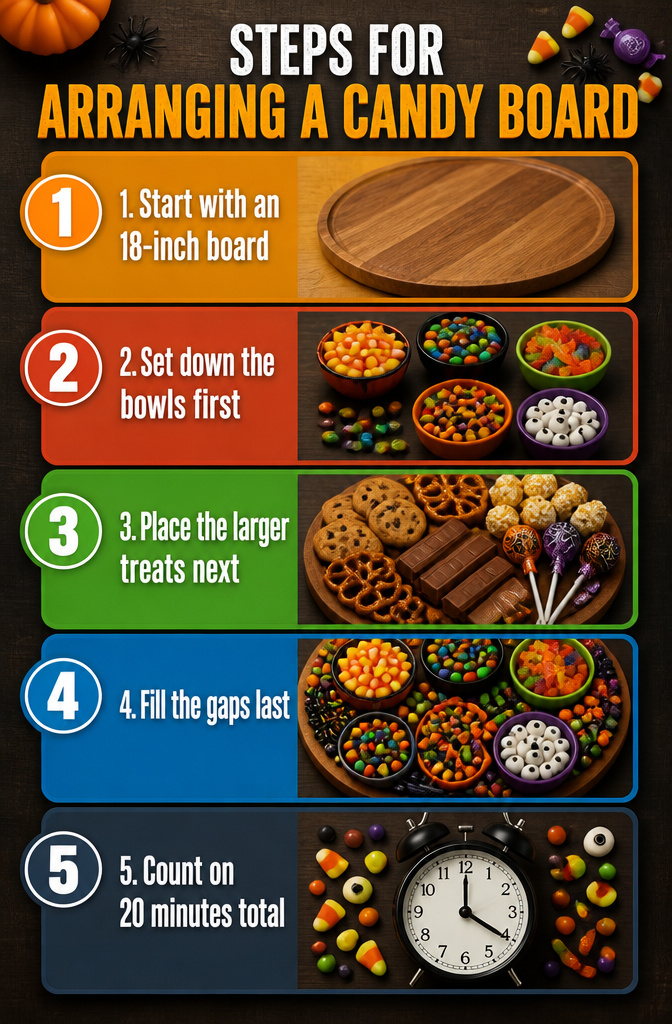
- Start with an 18-inch round board or larger if you are feeding 10 to 12 people. One source suggests an 18×24 inch rectangle for that same headcount, so either shape works if the surface area is generous enough to hold layers without crowding.
- Set down the bowls first. Fill them with the small loose items, gummy worms, M&M’s, candy corn, anything that would roll away if it sat flat on the board.
- Place the larger treats next. Cookies, pretzels, popcorn balls, the KitKat bars, the lollipops. Alternate colors as you go so the purple, orange, and green do not clump together in one zone.
- Fill the gaps last. Tuck smaller candies, licorice sticks, sprinkles, or candy eyes into the empty pockets so the surface reads full and intentional rather than scattered.
- Count on 20 minutes start to finish. That is the whole prep window, board out to camera-ready, assuming your candy is already unwrapped and sorted.
Color Coordination
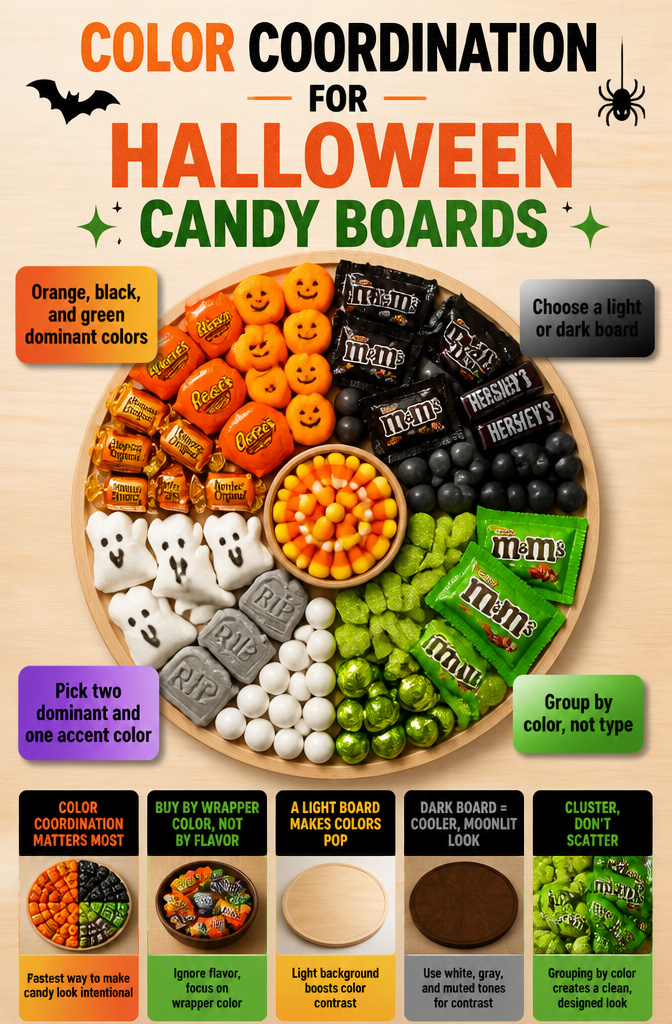
Orange, black, and green are the colors most people reach for first with a Halloween candy board, and there is a reason the look keeps showing up in every roundup you find.
Grouping by color instead of by candy type is what makes the board read as design rather than a dumped-out trick-or-treat bag.
Stack orange Reese’s cups beside orange pumpkin Peeps and orange-wrapped Werther’s so the eye picks up a block of color first, the shape second.
A light maple or blonde wood board gives orange and green the most punch; the pale background acts like negative space in a photograph.
If you are working with a darker walnut board, flip the scheme and let white marshmallow ghosts and gray tombstone candies carry the contrast so the colors do not muddy together.
You will still get the Halloween effect, but the board reads cooler and more moonlit.
Color coordination matters more than any single ingredient choice. Color coordination is the subtopic every tutorial leads with because it is the fastest way to make scattered drugstore candy look intentional.
Pick two dominant colors and one accent, then cluster, do not scatter. The reader who came for a quick win gets exactly that: buy by wrapper color, not by flavor, and the board builds itself.
Themed Elements and Serving
The last thing you place on a Halloween candy board is the stuff no one eats.
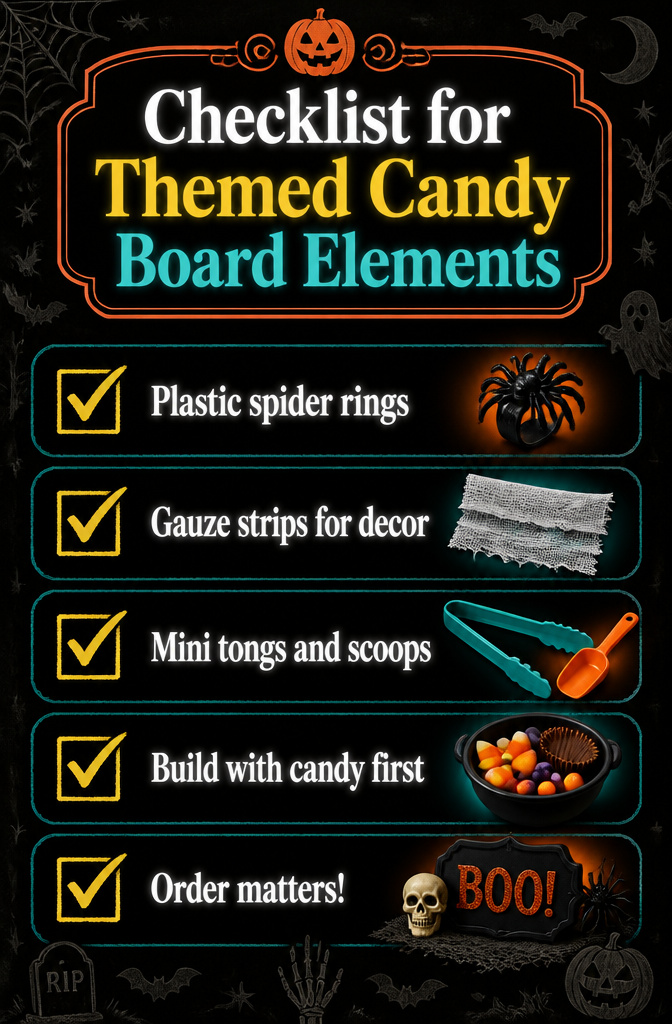
- Plastic spider rings go anywhere a small gap needs weight. Tuck them between wrapped candies or perch one on a bowl rim. They read as decoration from across the room and store flat for next year.
- Stretch a few strips of gauze across one corner like a torn spiderweb. It costs next to nothing and tears to whatever shape the board needs.
- Set out mini tongs and scoops before guests arrive. Sources list these as kid-friendly, and they keep the board from turning into a finger-food free-for-all. One or two per board is enough; people share.
- The order matters: build with candy first, then bowls, then these themed pieces last. Move a spider ring through peanut butter cups and you will smear the whole display.
Healthier Options and DIY
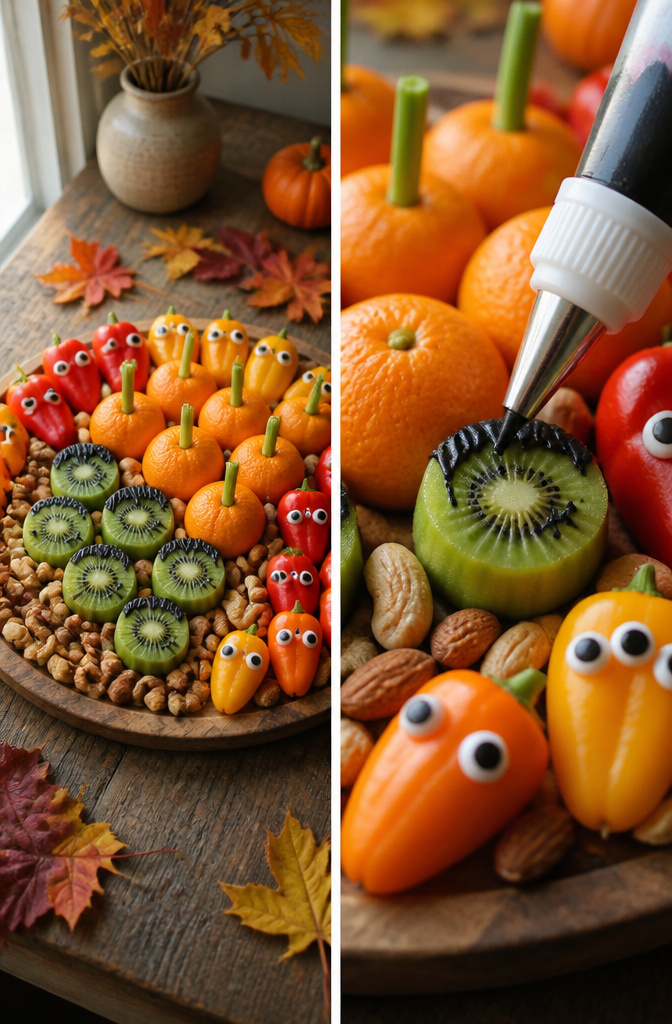
A Halloween candy board does not have to be pure sugar. Mandarin oranges with a green onion stem stuck in the top pass for mini pumpkins, and kiwis sliced and decorated with black icing make surprisingly convincing Frankensteins.
Bite-size peppers get candy eyes, held in place with the same icing. These add color and crunch that break up the chocolate monotony.
Nuts fill the gaps between sweets and give the board some structure. Use them in clusters so the display does not look scattered.
For items you can make ahead, monster popcorn balls hold up for several days. Shape them, wrap each one in plastic wrap, and keep them in an airtight container until you assemble the board.
Decorated cookies do the same work, and both free you up the day of the party. The make-ahead route is worth it if you are feeding a crowd and do not want to spend October 31 in the kitchen.
Frequently Asked Questions
How do I make a Halloween candy board?
Start with an 18-inch round board or larger for 10 to 12 people. Set down bowls first, fill them with small loose items like candy corn or gummy worms so nothing rolls away.
Place larger treats next, cookies, pretzels, popcorn balls, and chocolate bars, alternating colors as you go. Fill the gaps last with smaller candies, licorice sticks, sprinkles, or candy eyes, then add themed decorations like spider rings or gauze spiderwebs.
The whole build takes about 20 minutes from board out to camera-ready.
What candies should I include on a Halloween candy board?
Build around five categories: candy corn for color and gap-filling, stacked Halloween Oreos for vertical structure, gummy worms and skulls for irregular shapes that curl into empty spaces, wrapped chocolate bars like Reese’s and KitKat for weight and color blocks, and pretzels or popcorn for salt and volume.
Add candy eyes and themed sprinkles last as decoration rather than primary eating candy.
Can I make parts of a Halloween candy board ahead of time?
Yes. Monster popcorn balls hold up for several days: shape them, wrap individually in plastic wrap, and store in an airtight container until assembly.
Decorated cookies work the same way. Both free you from kitchen time the day of the party, which matters if you are feeding a crowd on October 31.
How do I make a DIY candy charcuterie board?
A candy charcuterie board follows the same layering logic as a savory version, just with sweets.
Bowls of small candies replace ramekins of olives, stacked cookies stand in for sliced meats, and chocolate bars do the work of cheese wedges for visual weight.
The build order stays identical: containers first, then larger items, then gap fillers, then decorative accents.
How do I prepare a Halloween charcuterie board?
The term usually means the same thing as a Halloween candy board. Prepare it by picking two dominant colors and one accent, then cluster candies by wrapper color rather than flavor.
A light maple board makes orange and green pop; a dark walnut board needs white and gray elements so colors do not muddy. Set mini tongs and scoops out before guests arrive to keep fingers off the display.