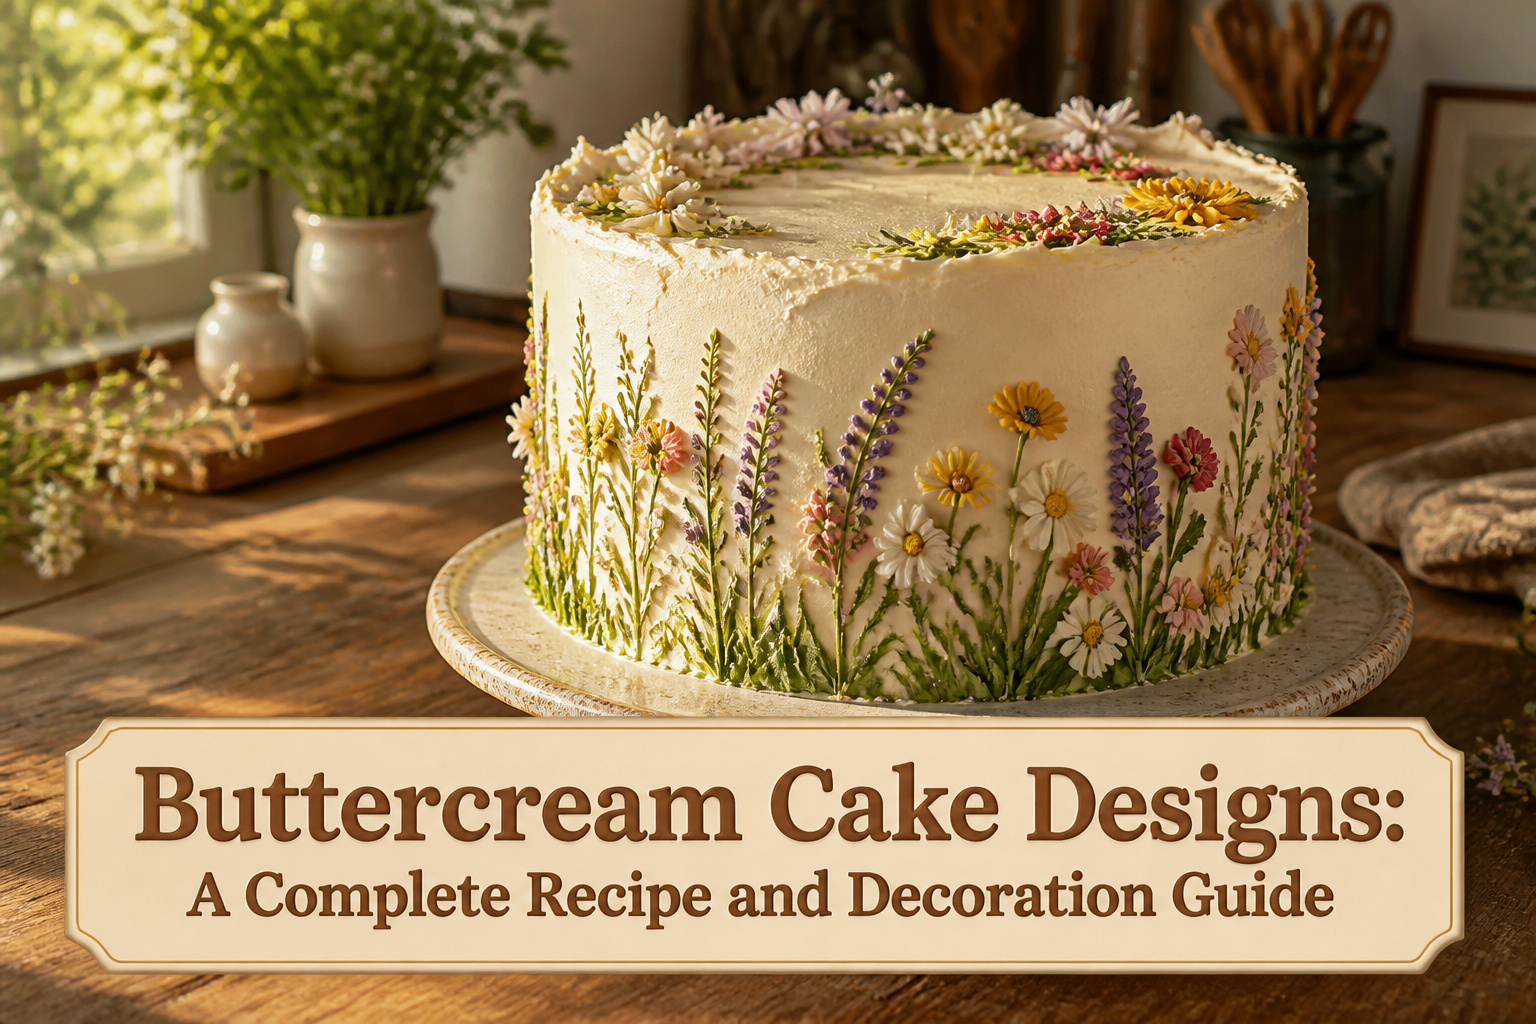
A classic buttercream cake tastes sweet and plush, and this one builds in enough structure to hold fifteen distinct designs without fondant.
Butter temperature makes or breaks the result: too cold and it won’t cream, too melted and the layers turn dense.
Start with 2 sticks truly softened, not shortcutted in the microwave, and the same base recipe becomes anything from Rustic Wildflower to Celestial Dream in under an hour of active work.
Ingredients
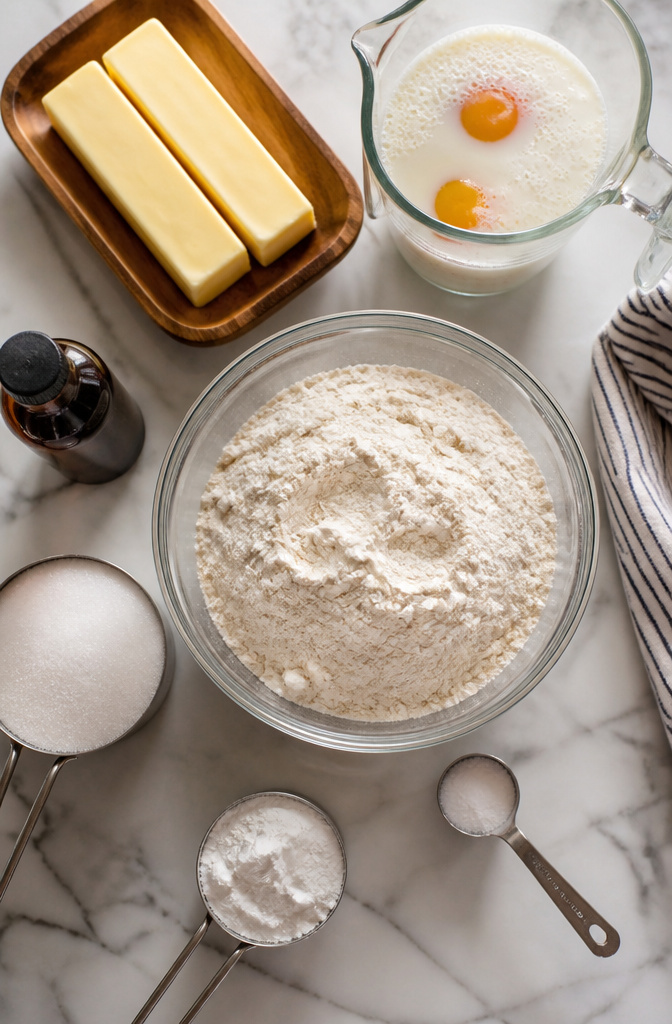
You probably have most of this in your kitchen already. For the cake layers, you need 3 1/4 cups all-purpose flour, 3 cups granulated sugar, 2 1/2 teaspoons baking powder, 1 teaspoon salt, and 1 cup unsalted butter at room temperature (that’s 2 sticks).
The wet ingredients are 5 eggs, 1 1/2 cups buttermilk at room temperature, and 2 teaspoons clear vanilla extract.
For the buttercream, gather another cup of unsalted butter (2 sticks, softened), 7 to 8 cups confectioners’ sugar, 1/2 cup milk, and 2 teaspoons clear vanilla extract.
A few swaps if you are missing something:
- No buttermilk? Thin regular milk with a tablespoon of lemon juice or white vinegar and let it sit five minutes.
- Out of clear vanilla? Regular vanilla extract works; your buttercream just tints slightly darker.
- The butter must be soft, not melted. Cold butter won’t cream; melted butter gives you a dense layer.
The sugar range in the frosting is intentional. Start with 7 cups for a softer, less sweet coat.
Add that eighth cup if you need the buttercream stiff enough to hold ridges or peaks for textured buttercream cake designs.
Method
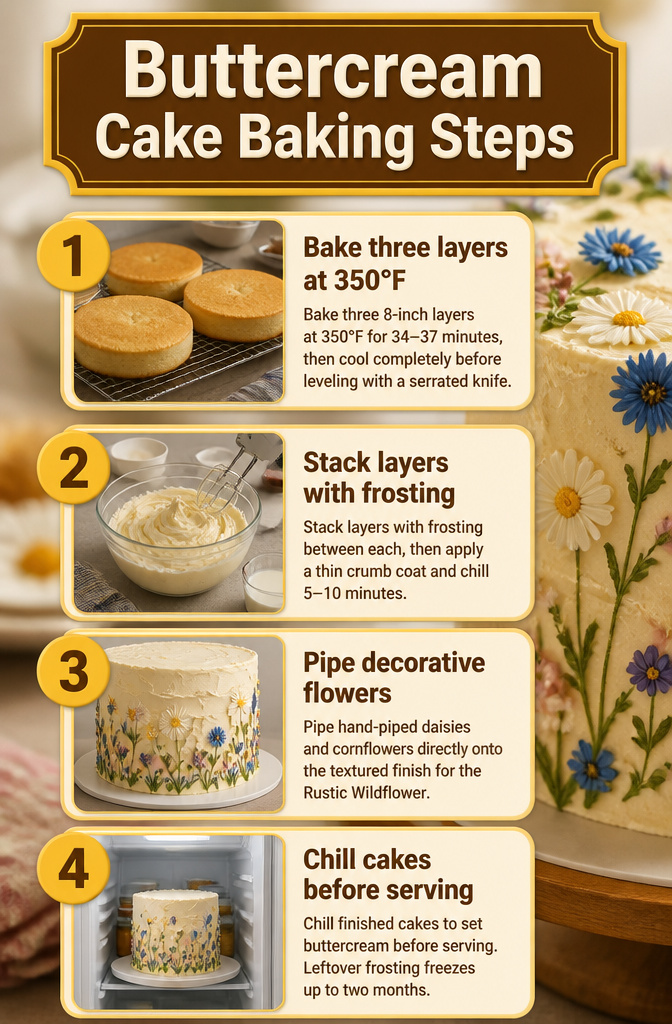
- Bake three 8-inch layers at 350°F for 34–37 minutes, then cool completely before leveling with a serrated knife. Beat 2 sticks of softened butter with 4 cups confectioners’ sugar, ½ cup milk, and 2 teaspoons vanilla; add remaining sugar 1 cup at a time until spreadable.
- Stack layers with frosting between each, then apply a thin crumb coat and chill 5–10 minutes. For the Rustic Wildflower design, skip perfect smoothing; drag a warm offset spatula up the sides from base to top, reheating the blade every half-turn in a mug of microwaved water for 45–60 seconds to keep ridges clean.
- Pipe hand-piped daisies and cornflowers directly onto the textured finish for the Rustic Wildflower, or switch to these 15 variations using the same base method: paint midnight blue buttercream and press edible gold stars for Celestial Dream; spread palm-leaf green and sunset orange with a warm spatula for Tropical Paradise; pipe Garden Party Bloom clusters at the base; sweep Watercolor Whimsy patches with a nearly-dry blade; pour chocolate ganache drip over the top edge and add truffles and shards for Decadent Drip; form blush pink and champagne rosettes in overlapping rows for Romantic Rosette; drag white-through-gray for Marble Elegance; coat Neon Pop in crushed sugar crystals; build Snowy Wonderland with white peaks; layer fresh strawberries between tiers for Strawberry Shortcake; drag horizontal brown lines for Rustic Birch; blend red to violet ombré upward; keep Champagne Cream ivory with minimal texture; pipe pale pink five-petal clusters for Cherry Blossom.
- Chill finished cakes to set buttercream before serving. Leftover frosting freezes up to two months.
Piping, Texturing, and Layering Techniques
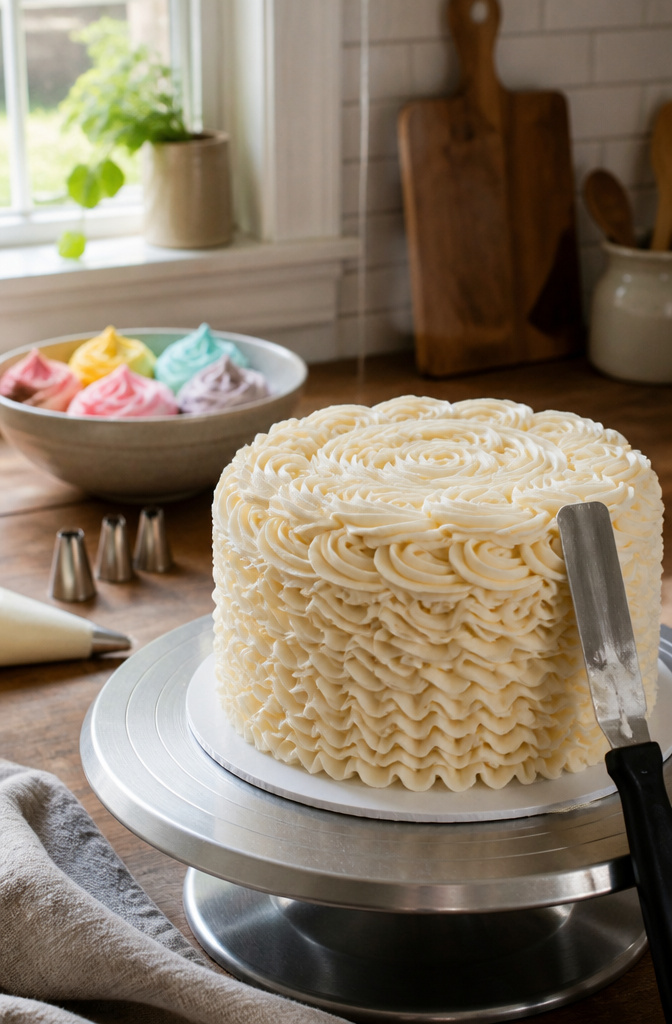
Piping with different tips is where most buttercream cake designs start. A star tip like 4B or 2D builds rosettes and shells fast, while petal tip 104 lays down ruffles that look like actual petals if you angle it right.
Basketweave tip 47 crosses lines over each other for a woven look, and drop flower tips 1G or 1E let you squeeze once and walk away with a full bloom.
Keep pressure even and lift clean at the end so the tail doesn’t sag.
For ridges and patterns without a tip, warm your offset spatula in a mug of water heated 45–60 seconds in the microwave. Drag the tip from the base upward, reheating every half turn or so.
That warmth keeps the edges of the ridges from tearing the finish. A cake turntable matters here; trying to texture while you reposition the cake with your free hand usually leaves gaps or repeats that don’t line up.
Layering methods build the structure underneath. Spread a thin crumb coat first, chill it 5–10 minutes, then add your final layer of frosting.
A textured finish hides small flaws, so the surface can have some irregularity before you start. The spatula or the tip does the work of hiding uneven spots.
A scraper or pastry cutter can speed up the smoothing, but it is optional; the warm spatula alone handles both jobs if you work in sections and keep the metal hot.
Color and Texture Combinations
Earthy hues paired with rough spatula work read as rustic the moment you set the cake down. The same palette smoothed to glass reads elegant.
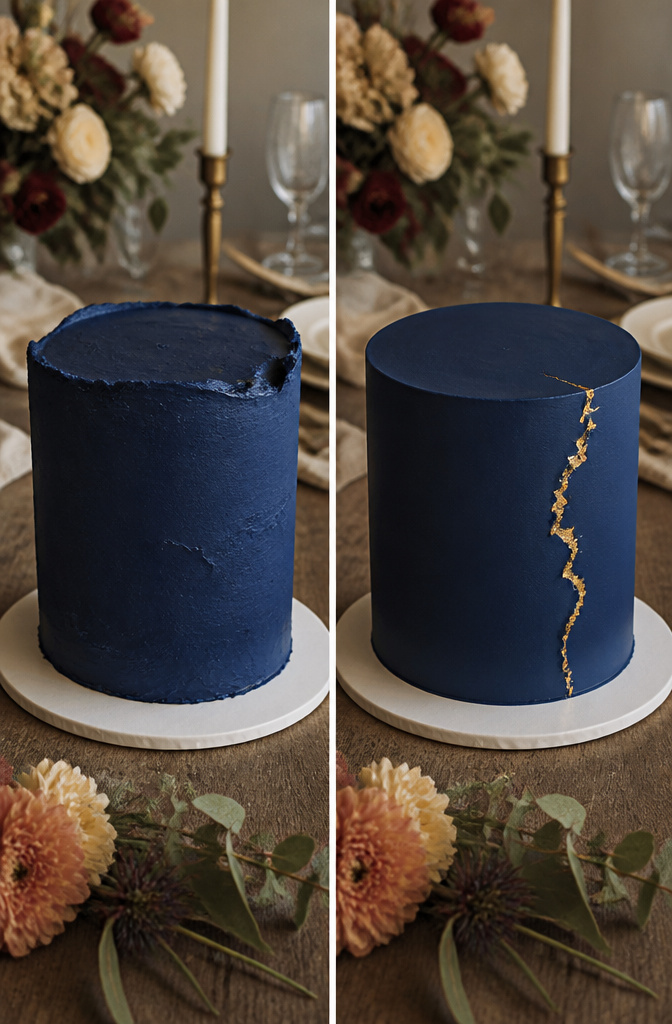
Midnight blue with a velvet texture and a single gold accent line is the shortcut to modern without buying a single new tool.
Sunset ombré asks you to blend coral into soft peach into champagne cream, working while the buttercream is still workable. Let it set and the gradation turns streaky.
Metallic highlights work best as thin edges or scattered points; brushed across a whole tier they read as craft-store rather than finished.
Frosty white holds texture beautifully, so a combed finish or soft peaks keep it from looking like a blank canvas you gave up on.
Neon colors are the exception that proves the rule. They fight against smooth finishes and look deliberate only when the texture is aggressive: heavy rosettes, sharp ridges, something that reads as choice rather than mistake.
Champagne cream and soft peach are forgiving enough to carry a beginner, but pair them with a single bold element or they flatten into wedding-cake generic.
Occasion-Specific Designs
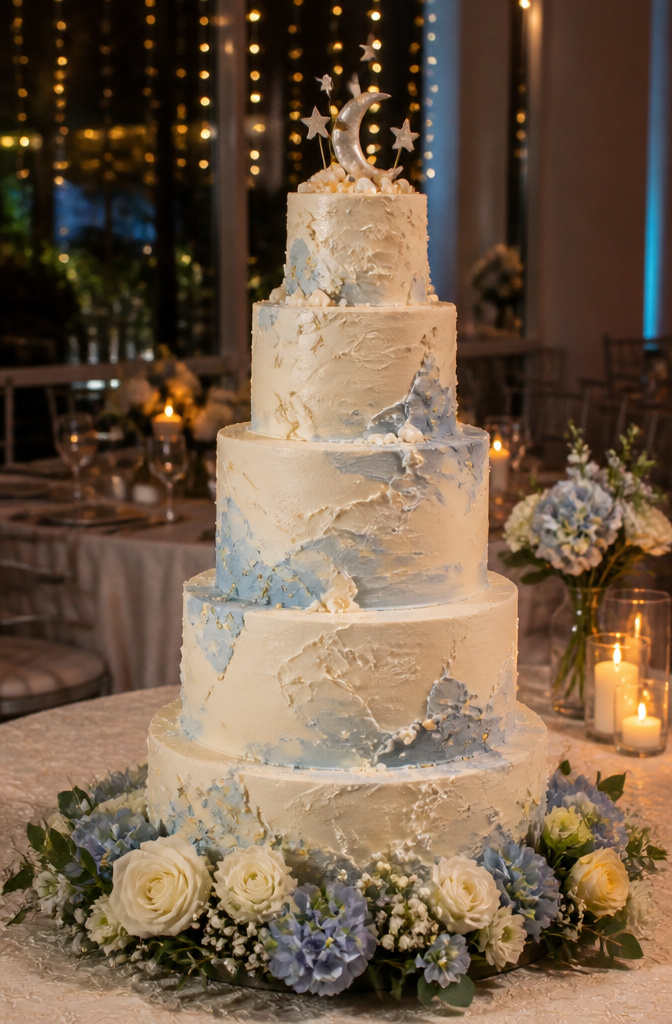
Wedding cakes lean toward restraint that still reads special. Celestial Dream and Champagne Cream both work here: the first carries a quiet formality in its palette, the second adds warmth without drifting into party territory.
Either one photographs well under reception lighting, which matters more than most couples guess until they see their gallery.
Birthdays call for permission to go loud. Neon Pop and Rainbow Ombré answer that directly.
The same textured buttercream that looks understated in ivory becomes graphic and energetic once you push the saturation.
You can top it with dollar-store picks, sprinkles, fresh flowers, or a figurine; the icing itself carries enough structure that the decoration almost does not matter.
Seasonal designs ground the cake in a specific moment. Snowy Wonderland builds from white swirls with icy blue highlights and crushed sugar crystals for sparkle, suited to December tables.
Tropical Paradise carries summer. Cherry Blossom, with its soft peach and coral blossoms piped over branches and light green leaves, fits spring outdoor gatherings or any party where you want the cake to feel like the weather outside.
Tools That Help
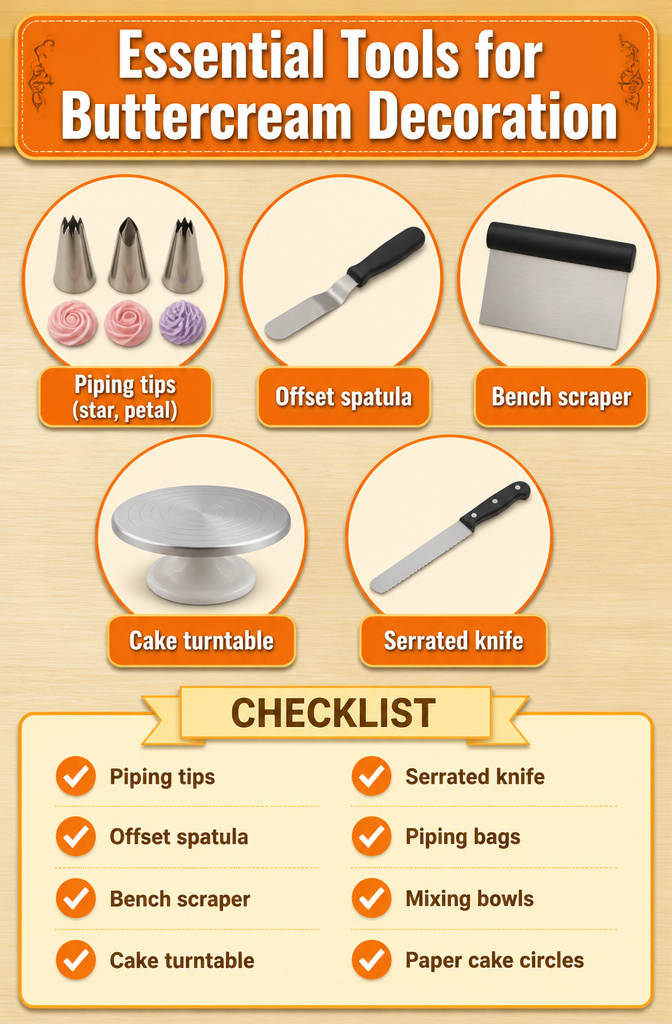
Clean buttercream cake designs come from a few specific tools, not a full bakery setup. A few tools from the grocery-store baking aisle or a basic craft store will handle most of what the popular techniques ask for.
- Piping tips shape the buttercream as it exits the bag. Star tips such as 4B and 2D leave ridged swirls and rosettes; petal tips such as 104 build roses and ruffles; basketweave tips such as 47 press out the interlaced lines for that woven look. Specialty tips such as 81 and 83 do the work of multiple motions in one squeeze. Most standard designs call for only one or two of these.
- An offset spatula, the small kind with a bent blade, spreads frosting across the top without your knuckles dragging through it. You will use it on every cake before any texture goes on.
- A bench scraper or pastry cutter smooths the sides. Smooth sides first, even if you plan to rough things up after; texturing is easier that way.
- A cake turntable lets you spin the cake while you scrape or pipe. You can set the baked layers on a 10-inch cardboard circle and turn that by hand, but the table saves time and keeps your lines level.
Skip the flower picks and levelers for now; a serrated knife and a steady hand trim layers fine.
Edible Decorations
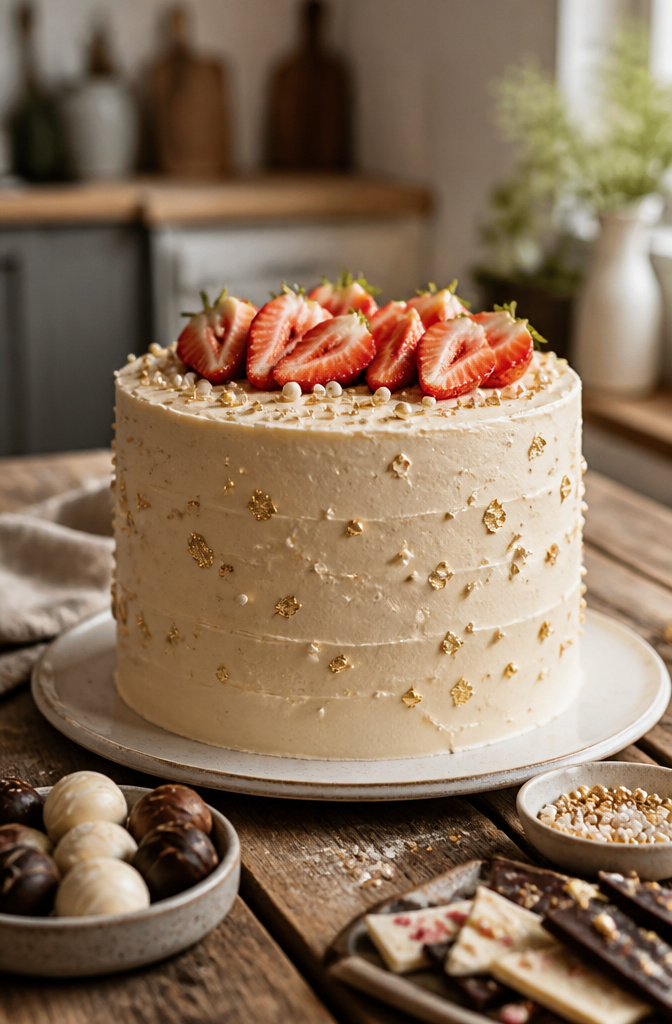
Edible gold flakes and edible pearls press straight into soft buttercream while it is still fresh from the spatula.
Gold flakes come in sheets or loose fragments; use tweezers to place them, because the warmth of your fingers will melt the finish.
Pearls need a gentle push to seat them, nothing more, and they read as jewelry against dark chocolate or navy-tinted frosting.
Real strawberry slices work only if you add them within an hour of serving. Press them into the buttercream cut-side in, which keeps the juice against the frosting instead of bleeding down the sides.
A glaze drip, strawberry or otherwise, sets faster and cleaner if the fruit is already in place.
Chocolate shards and truffles sit well on ganache drips, where the tack of the ganache acts as glue.
Angle shards backward into the drip edge so they do not slide; truffles go heaviest at the base and lighter toward the top, or the visual weight collapses.
Crushed sugar crystals catch light on textured buttercream, but they also catch in the teeth of your knife when you slice; sprinkle them on the display side only, or skip them if you need clean portions.
Frequently Asked Questions
What are some creative buttercream cake designs?
Rustic Wildflower pairs textured buttercream with hand-piped daisies and cornflowers. Celestial Dream uses midnight blue buttercream pressed with edible gold stars.
Decadent Drip pours chocolate ganache over the top edge and finishes with truffles and shards.
Other options include Tropical Paradise, Garden Party Bloom, Watercolor Whimsy, Romantic Rosette, Marble Elegance, Neon Pop, Snowy Wonderland, Strawberry Shortcake, Rustic Birch, red-to-violet ombré, Champagne Cream, and Cherry Blossom.
How can I achieve a textured buttercream finish?
Drag a warm offset spatula up the sides of the cake from base to top. Reheat the blade every half-turn in a mug of microwaved water for 45–60 seconds; that warmth keeps the ridge edges from tearing the finish.
A cake turntable helps you work without repositioning the cake by hand, which usually leaves gaps or misaligned repeats.
What tools do I need for buttercream cake decorating?
Piping tips shape the buttercream as it exits the bag; star tips 4B and 2D, petal tip 104, and basketweave tip 47 handle most standard designs. An offset spatula spreads frosting and creates lines and swirls.
A bench scraper or pastry cutter smooths sides before texturing. A cake turntable spins the cake while you scrape or pipe, keeping lines level.
How can I decorate a buttercream cake?
Start by stacking cooled, leveled layers with frosting between each, then apply a thin crumb coat and chill 5–10 minutes.
From there, choose your finish: pipe with tips for rosettes, ruffles, or drop flowers; drag a warm spatula for ridges and patterns; or add edible decorations like gold flakes, pearls, or fresh fruit.
What are some easy homemade cake designs?
Rustic Wildflower skips perfect smoothing and uses a warm spatula for texture, then pipes basic wildflowers directly onto that finish. Champagne Cream stays ivory with minimal texture, so small flaws do not show.
Watercolor Whimsy sweeps patches of color with a nearly-dry blade, where unevenness reads as intentional.